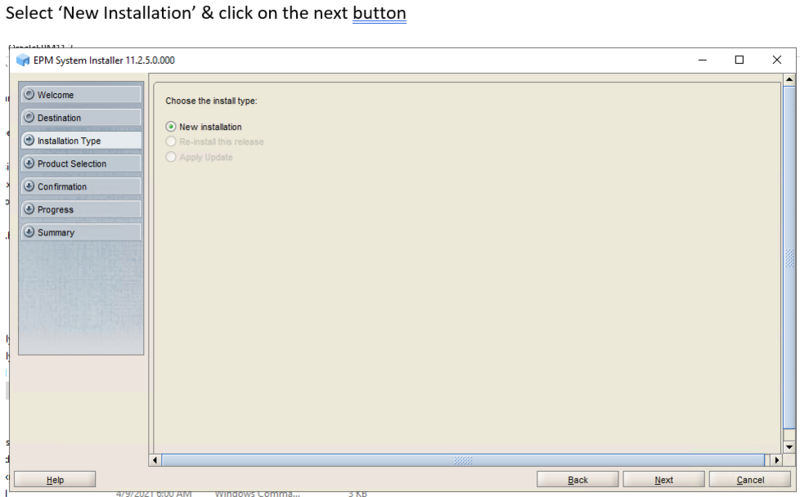
Recently I have installed EPM11.2.8 in Windows 2019 server's using 3 boxes (Distributed install) as follows.
1. Server-Web - All Web Apps
2.Server-App - Essbase Server & HFM App Server
3. Server-Oracle Db - Oracle DB Server 2019.
Pre-requisites in Windows server 2019 before installation.
Below Pre-requisites should be checked and implemented before we install/config the EPM11.2.8 in all windows 2019 servers.
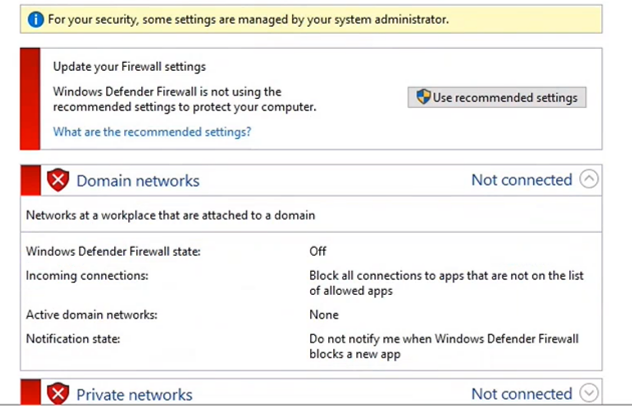
1. Turn of the inbuilt FIREWALL.
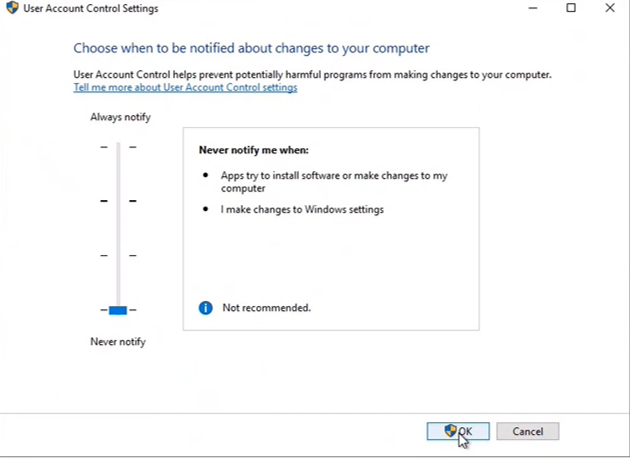
2. Turn off UAC (User Access Control) settings.
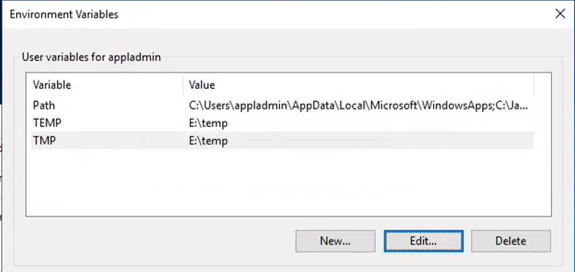
3. Temp file path Settings.
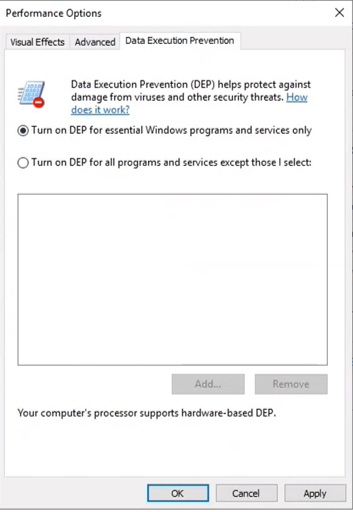
4. Windows DEP (Data Execution Prevention) setting.
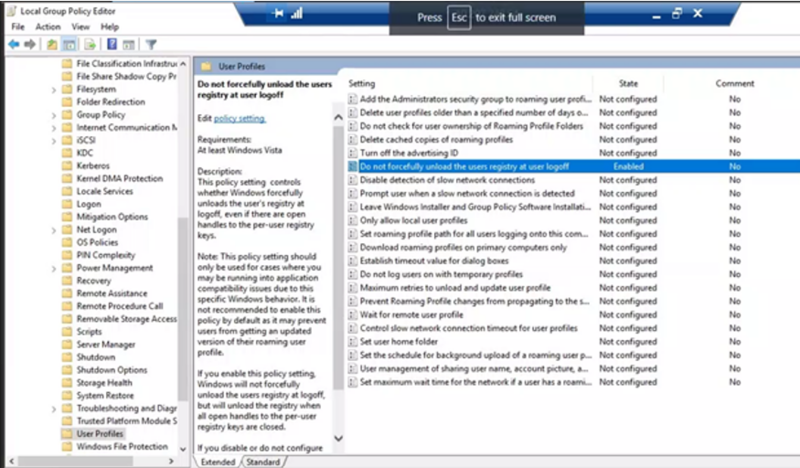
5. Windows Group Policy settings for HFM/FDMEE
a. Start the ‘Group Policy Editor’ ‘Start | Run | gpedit.msc’
b. Navigate to ‘Computer Configuration | Administrative Templates | System | UserProfiles |Do not forcefully unload the user registry at user logoff’
c. Change the setting from ‘Not Configured’ to ‘Enabled’
d. Reboot the Server.
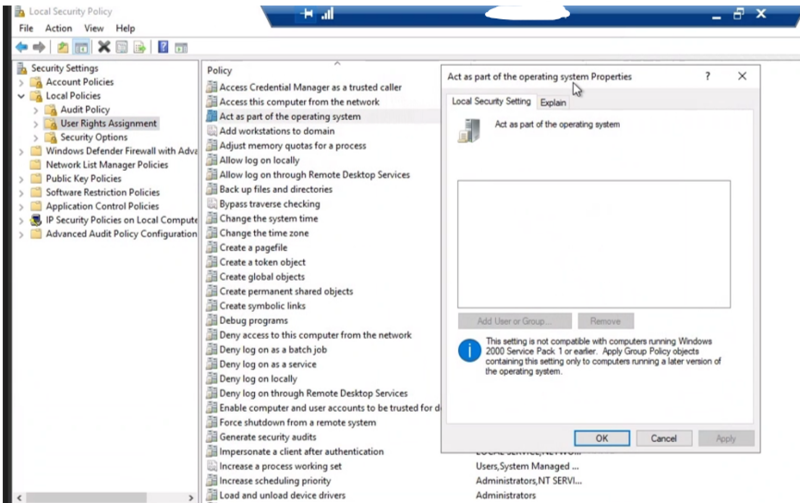
6. Local User Security Policy:
a. On server in the environment add the user “.\hyfmsvc” to the local server’s Security policy.
b. Open Local Security Policy applet, Start -> Run ‘secpol.msc’
c. Select ‘Local Policies’ and expand ‘User Rights Assignment’
d. Double-click ‘Act as part of the operating system’
e. Select ‘Add User or Group…’
f. Enter object name ‘.\hyfmsvc’
g. Select ‘Check Names’
h. Select ‘OK’
i. Select ‘Apply’
j. Select ‘OK’
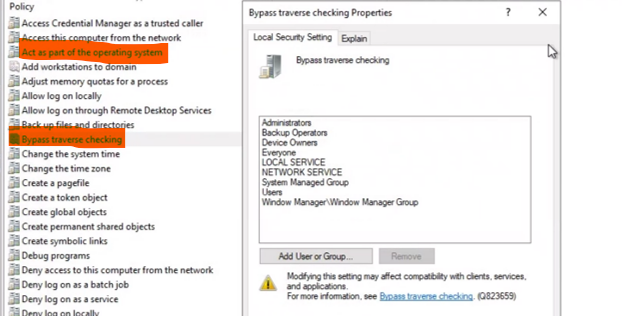
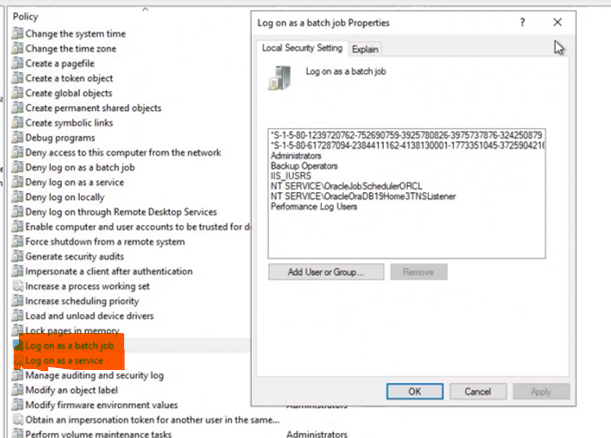
k. Perform same steps for Policies ‘Bypass Traverse Checking’, ‘Log on as a batch job’, and ‘Log on as a service’
l. Close Local Security Policy and log off the server
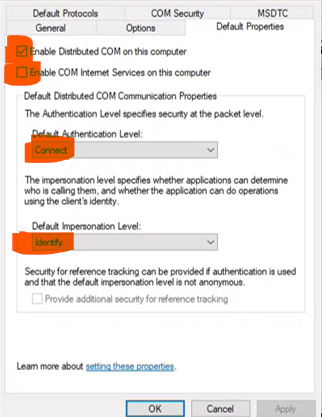
7. Set DCOM default Permissions.
1.From a command prompt, type ‘dcomcnfg’
2.Expand Console Root > Component Services > Computers
3.Right-click ‘My Computer’, select ‘Properties’, Default Properties
a.Ensure ‘Default Authentication Level’ is set to ‘Connect’
b.Click ‘OK’
4.Close the ‘Component Services’ applet
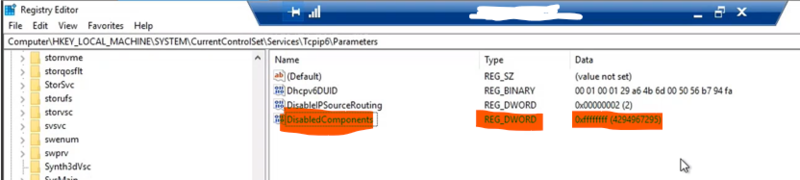
8. TCP-IP Registry Settings
Start->Run->regedit
HKEY_LOCAL_MACHINE\SYSTEM\CurrentControlSet\Services\TCPIP6\Parameters
DisabledComponents ffffffff(Hexadecimal)

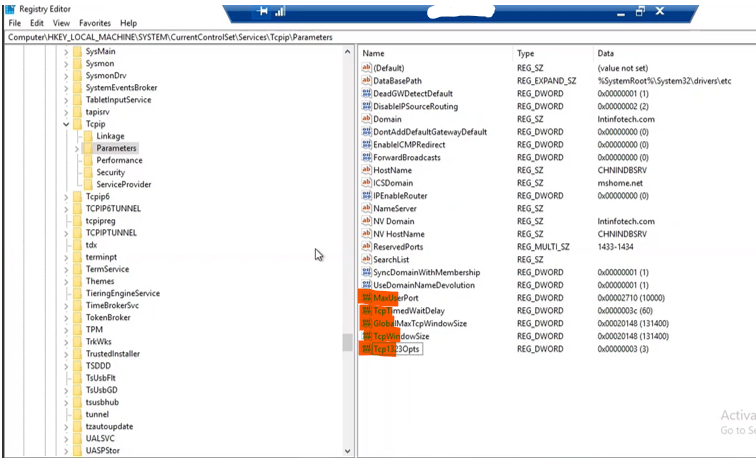
Start->Run->regedit
HKLM\System\CurrentControlSet\Services\tcpip\Parameters
Create following new DWORD entries selecting 32 bit key
• MaxUserPort 10000 (decimal)
• TcpTimedWaitDelay 60 (decimal)
• GlobalMaxTcpWindowSize 131400 (decimal)
• TcpWindowSize 131400 (decimal)
• Tcp1323Opts 3 (decimal)
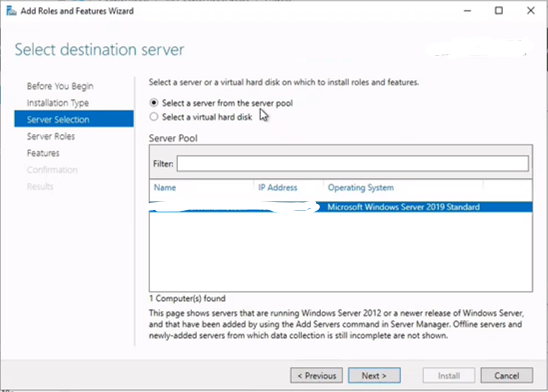
9. Installation of Windows features (Web Server Features & Roles) on all windows 2019 servers in Distributed Environment:
From server Manager dashboard, click on Add Roles/Features.


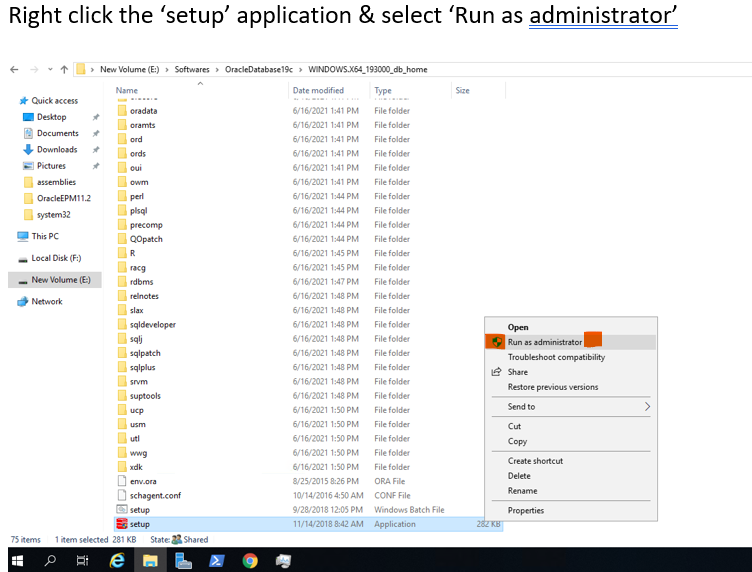
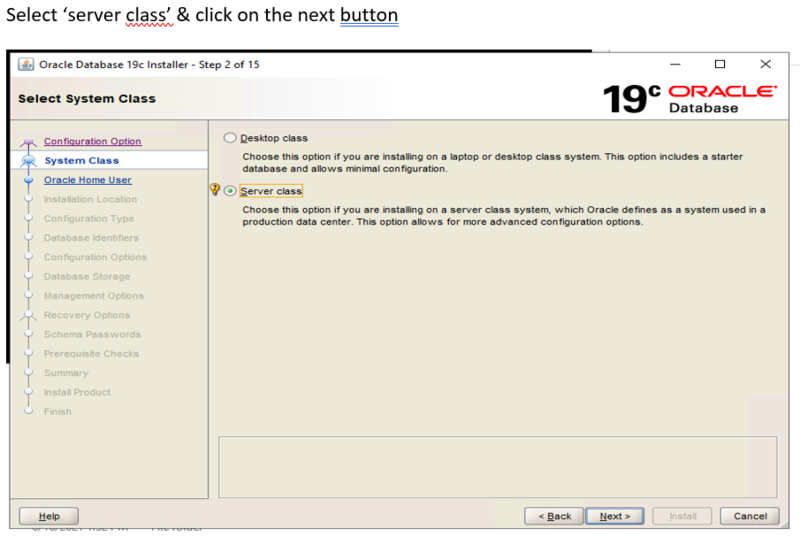
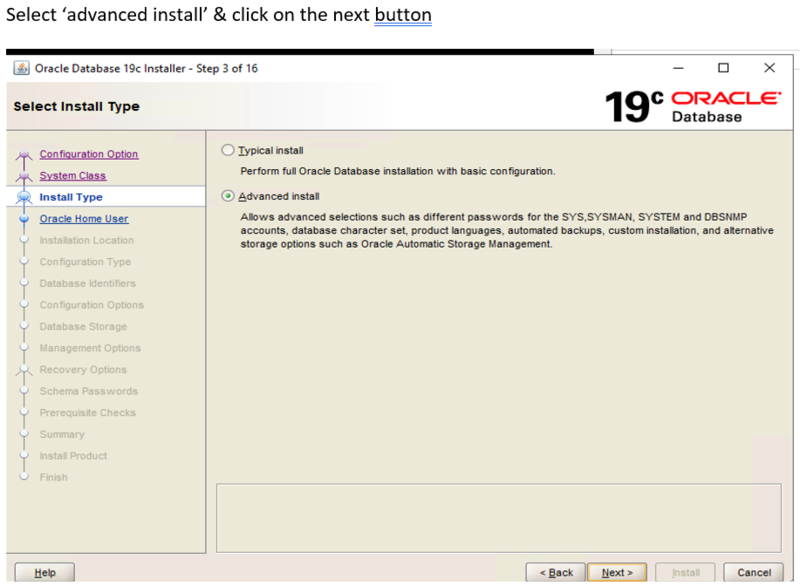
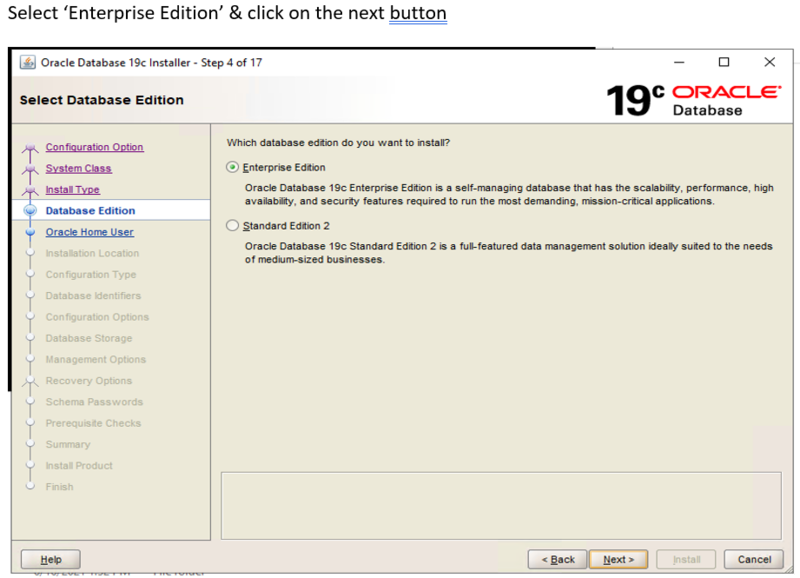
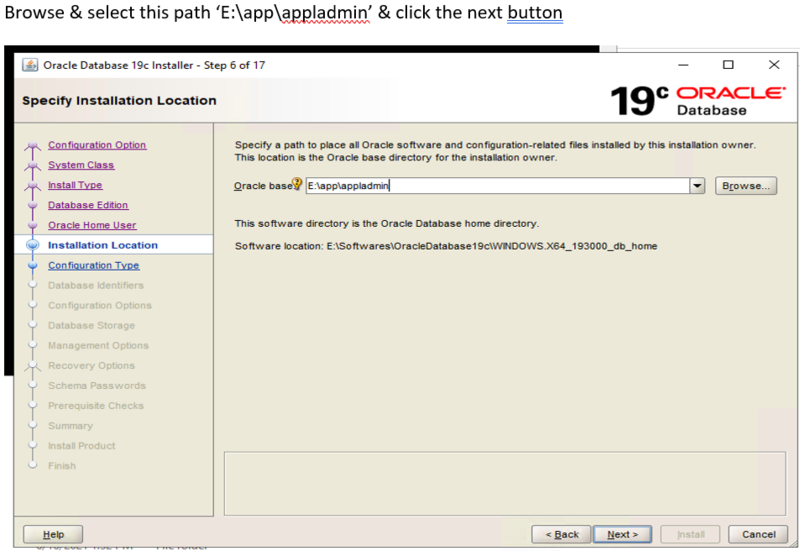
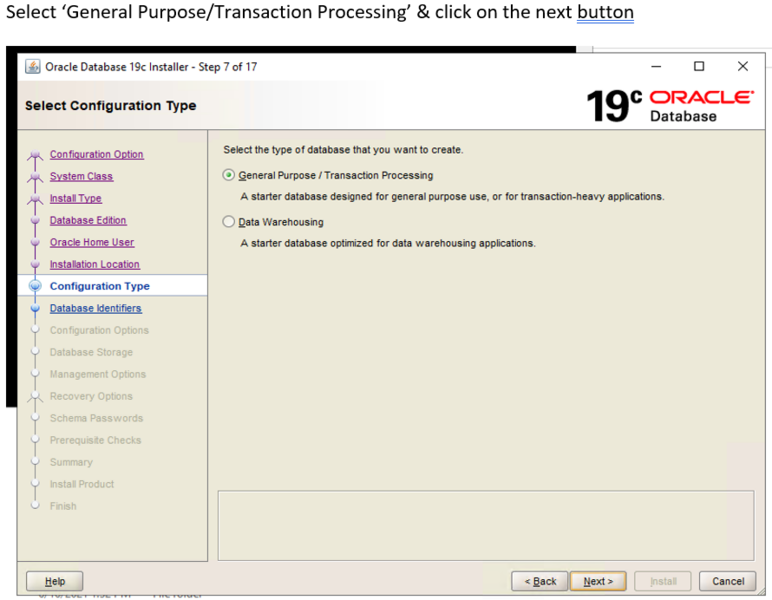
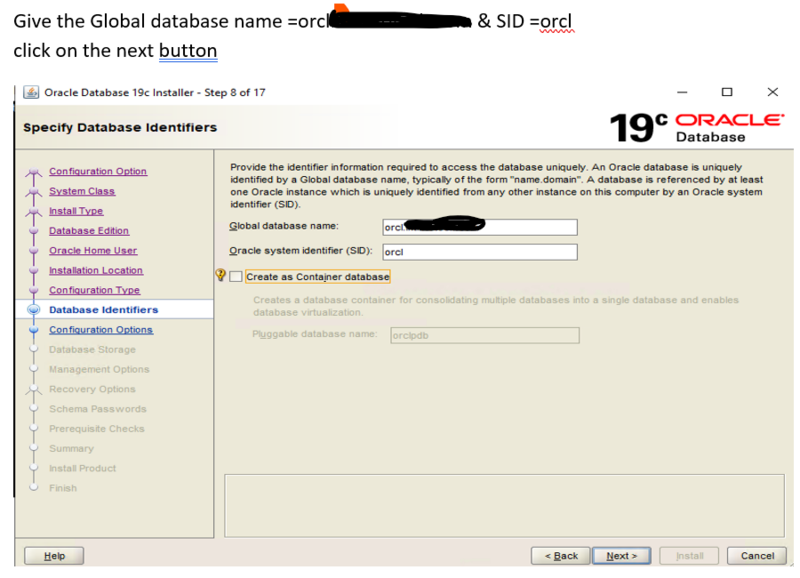
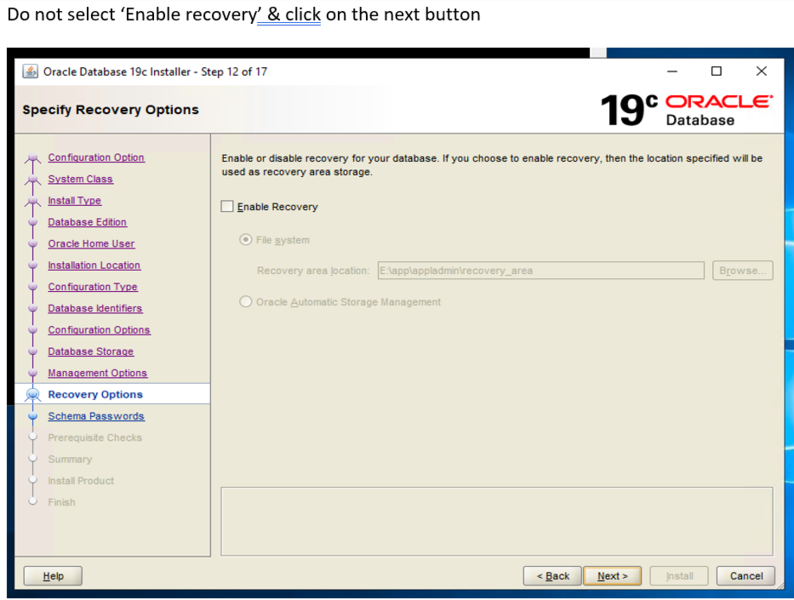
Oracle DB 2019c Installation & Configuration Screen Shots:


These are the sql commands to create schemas in the Oracle database for use with EPM configurtor.
Open ‘sql developer’ and run these commands
CREATE USER HYPHSS IDENTIFIED BY Hyperion;
GRANT CONNECT, RESOURCE, DBA TO HYPHSS ;
GRANT CREATE SESSION TO HYPHSS;
GRANT UNLIMITED TABLESPACE TO HYPHSS;
select * from ALL_USERS
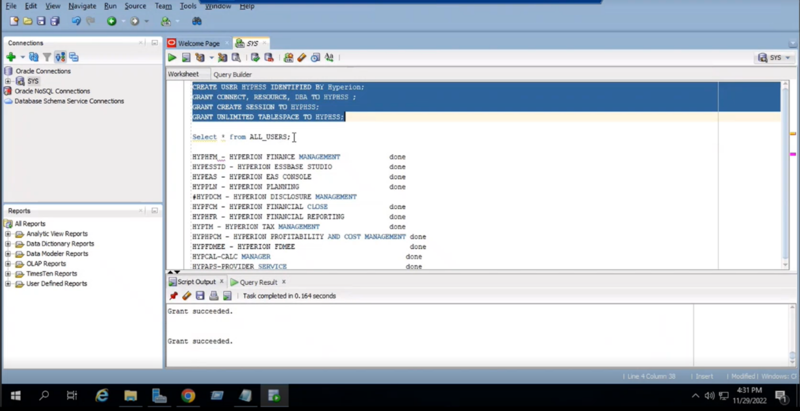
Create all necessary Schemas for EPM components like EAS.HSS, CalcMgr, PLN, HFM, HFR..etc.. as required.
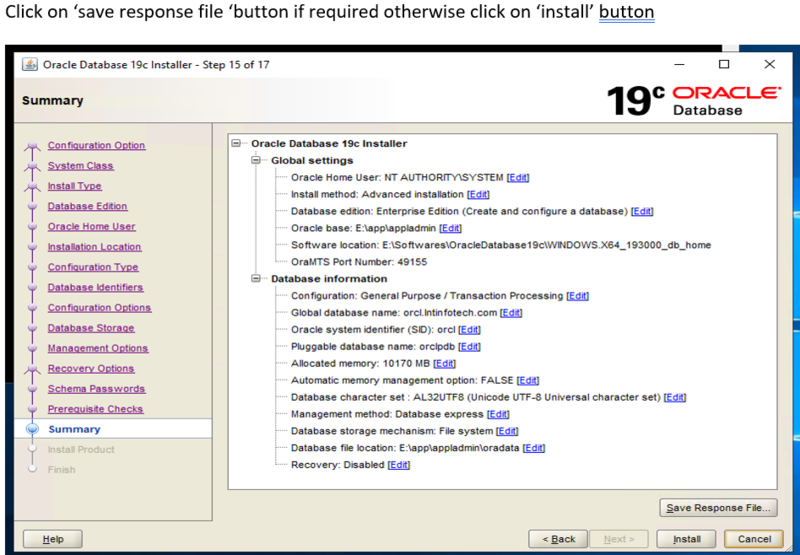
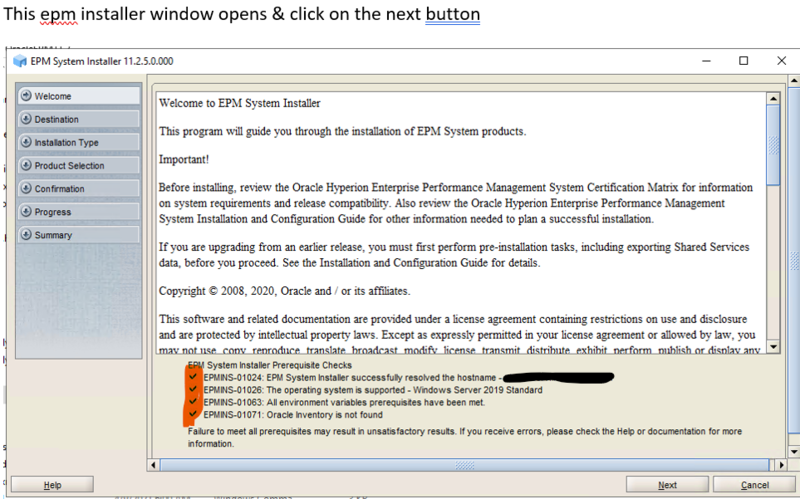
EPM Web Apps Installation in "Hyperion-WEB" Server: Screen shots
Goto the location where EPM Installation files are unzipped and ready for Installation.

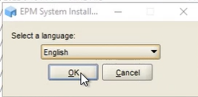
Select Languae and Click on OK.
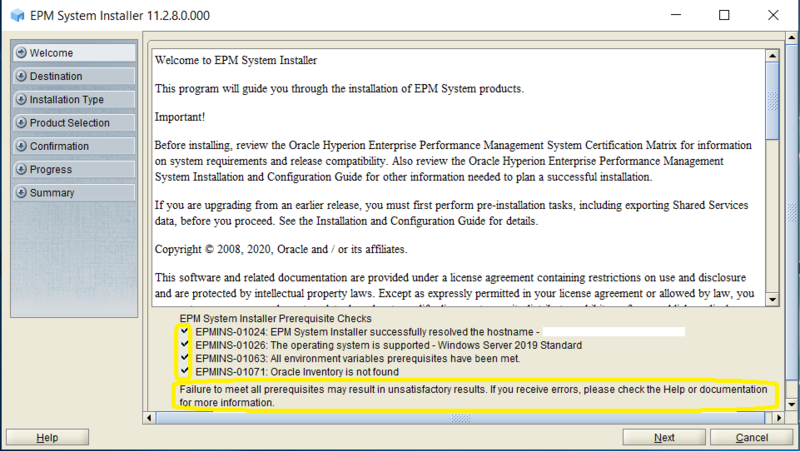
Check that all EPM System Installer Pre-Required checks are PASSED (Green Tick).
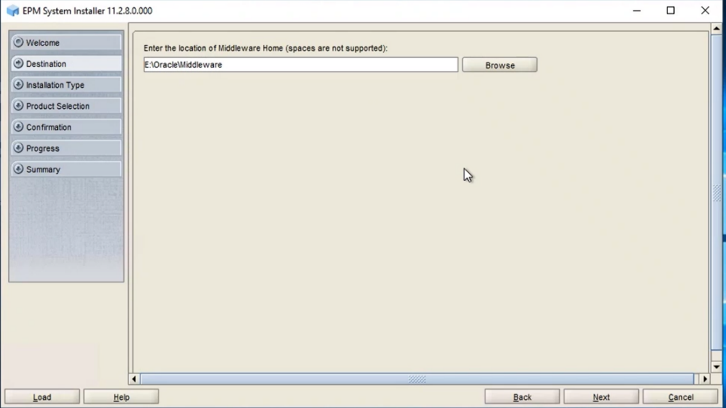
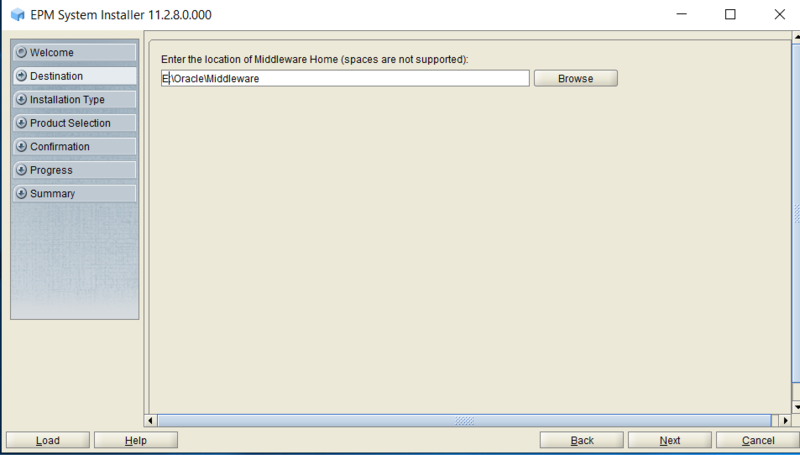
Select the Install Path as Needed.
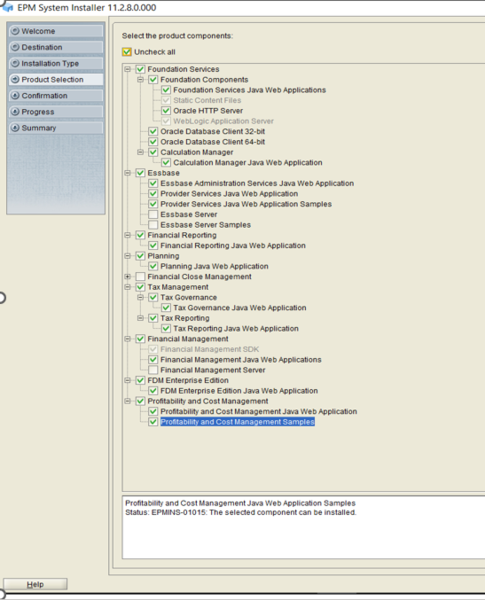
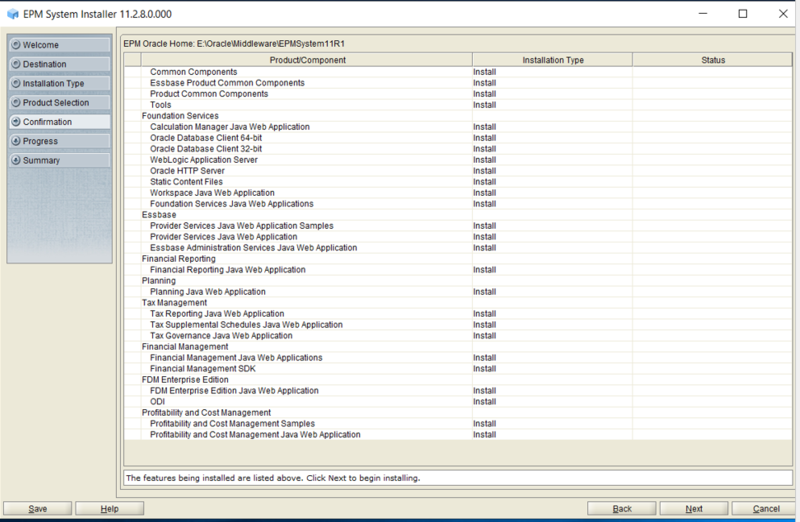
Click on 'Uncheck all' checkbox and then check the checkboxes corresponding to the EPM components that needs to be installed according to your requirement & Click on NEXT button.
Review & Click on Next.


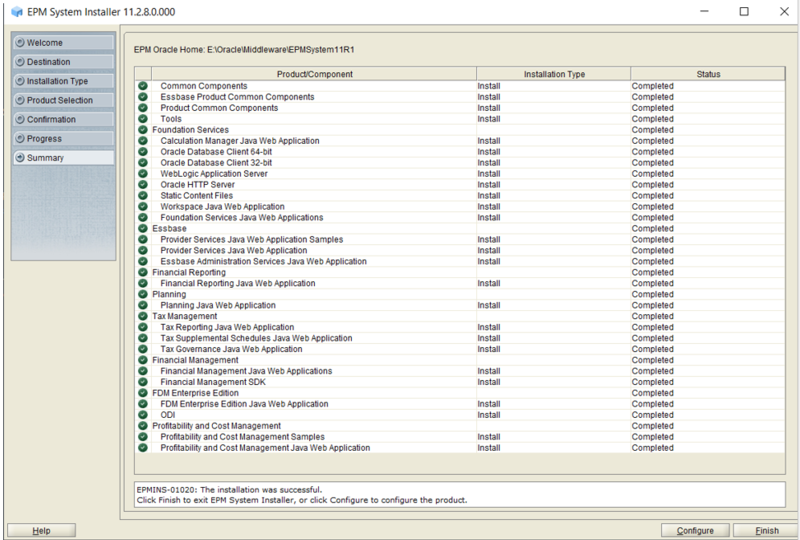
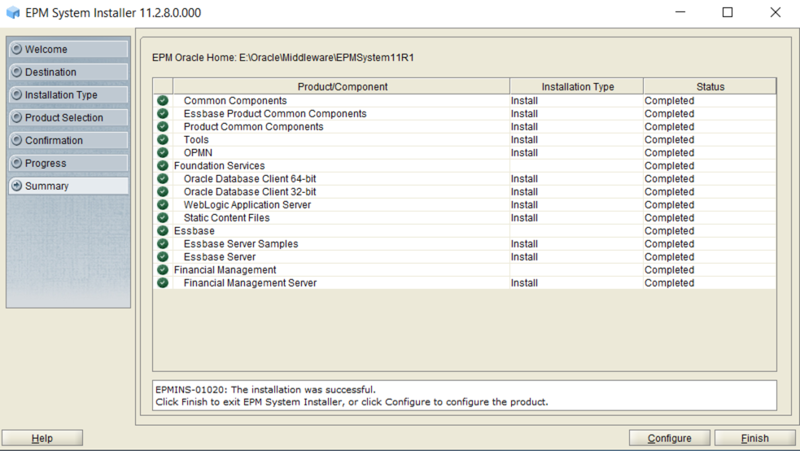
After Installation is successful, Review and Click on Finish Button.
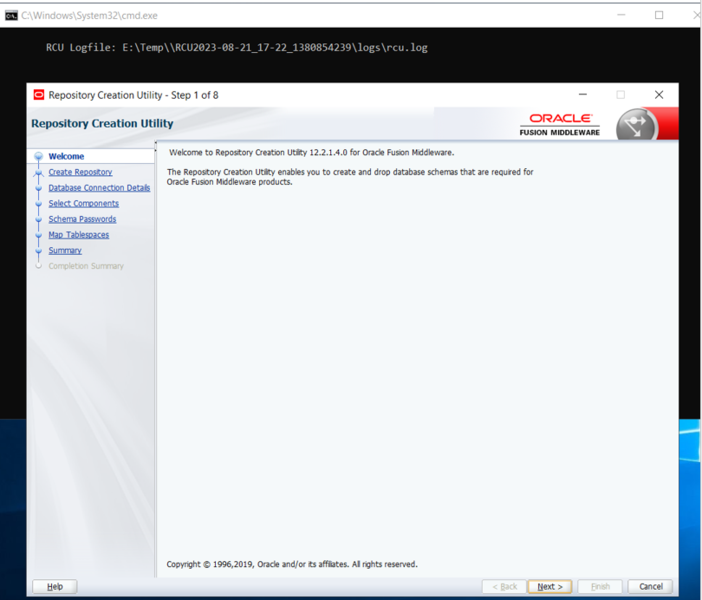
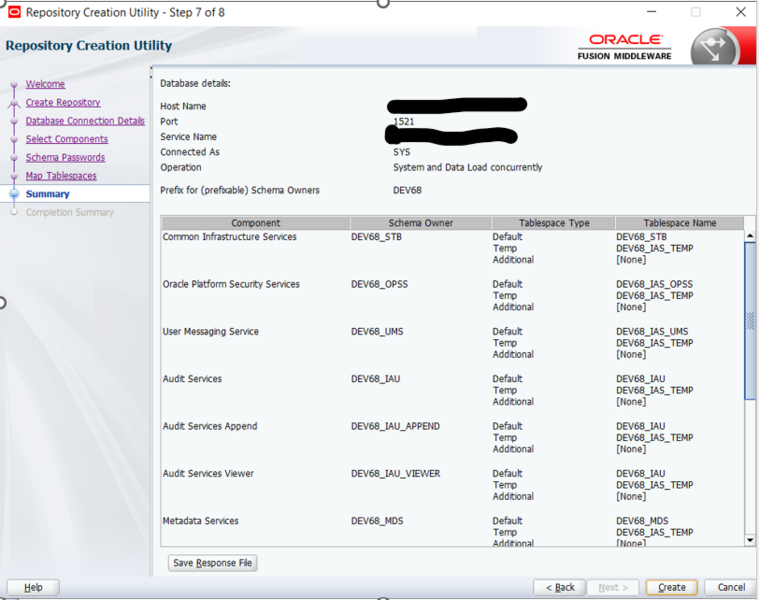
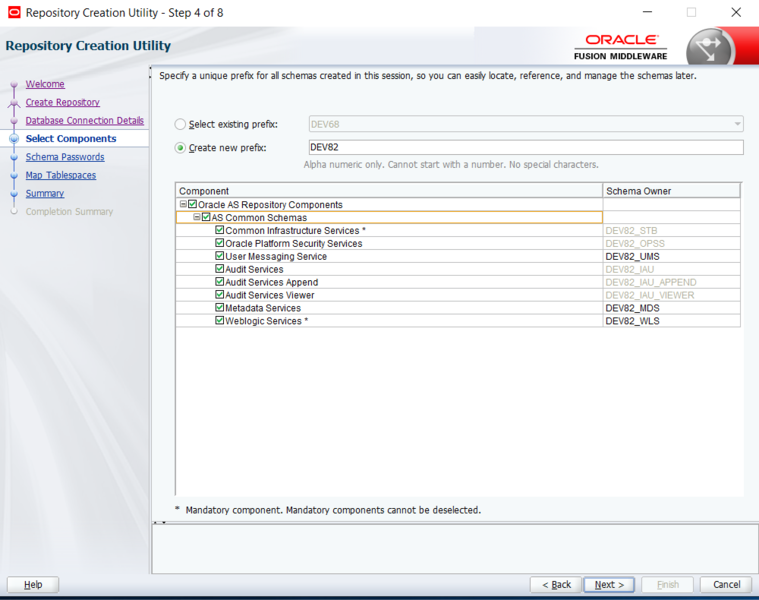
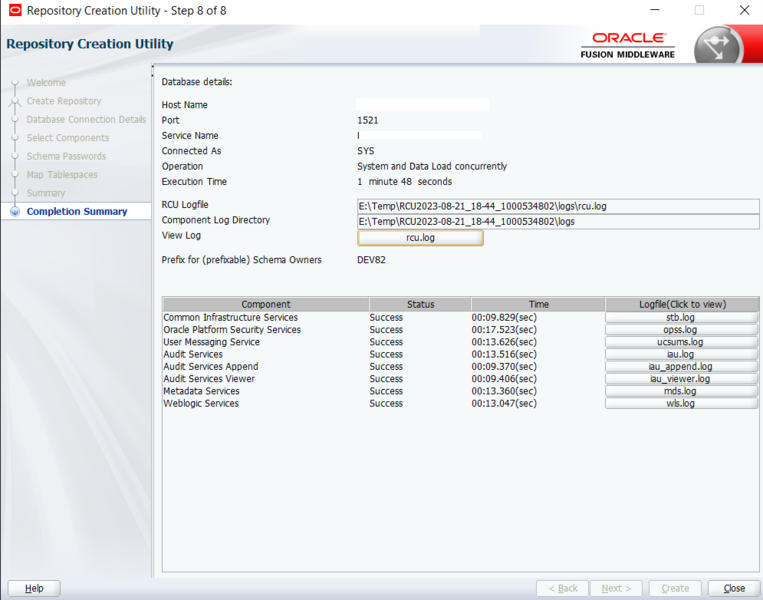
RCU Installation in Hyperion-Web server (Same goes with Hyperion App server too):
Goto the Location Middleware Home/oracle_common/bin location
Right Click on RCU.bat file and Click on "Run as administrator".

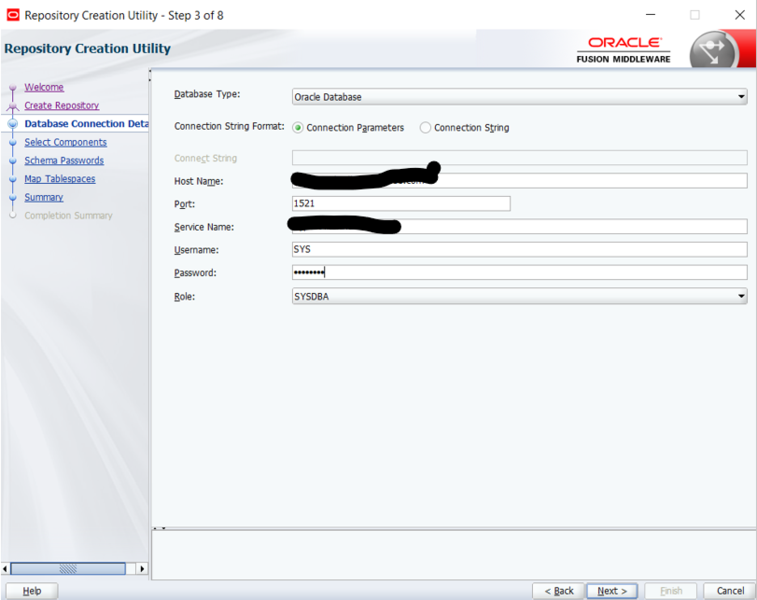

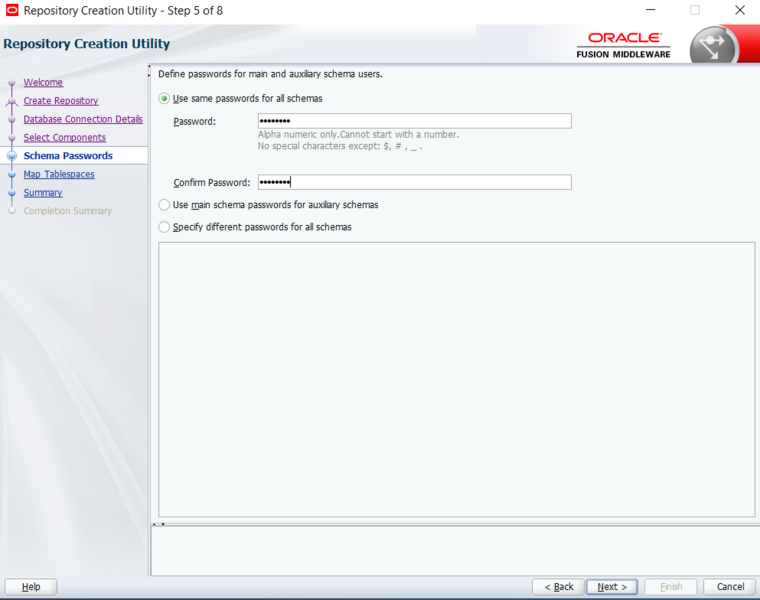
Provide the PREFIX (DEV68 in this case, provide different prefix in each EPM server)


Input desired Password


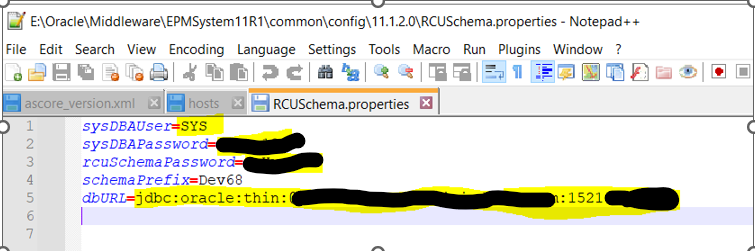
Now goto th location shown in below screenshot and edit the RCUSchema.Properties.
Repeat this RCU Install process in each EPM server involved in distributed install with different prefix.
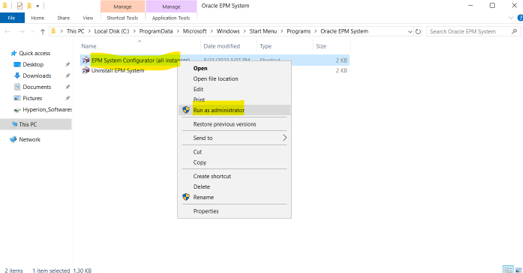
Configuration of Hyperion-Web Server:
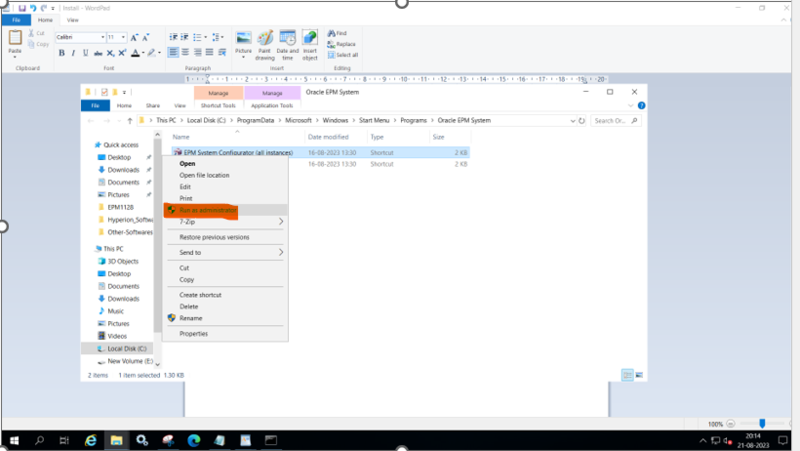
Start Configuration of EPM 11.2.8:
C:\ProgramData\Microsoft\Windows\Start Menu\Programs\Oracle EPM System
Right Click & Select "Run as Administator"
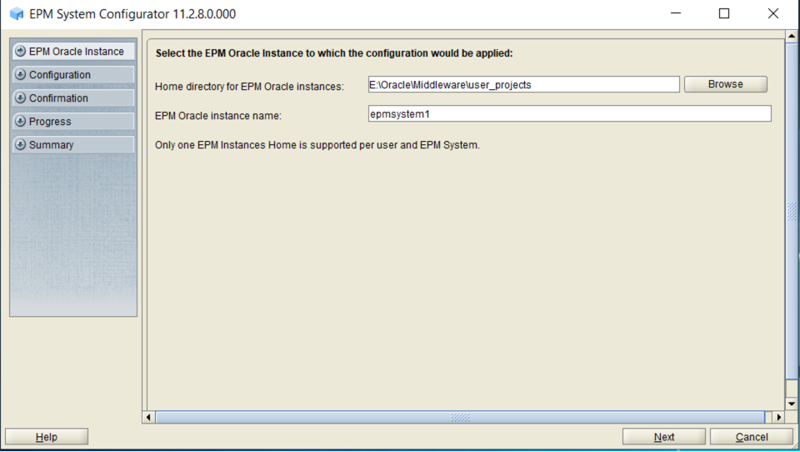
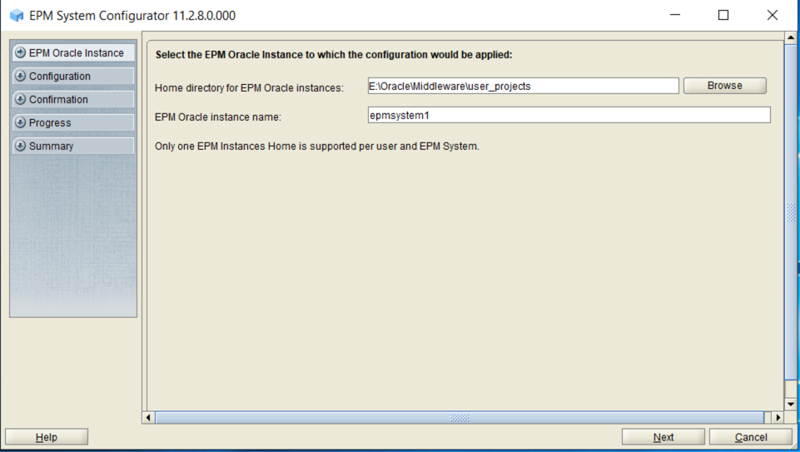
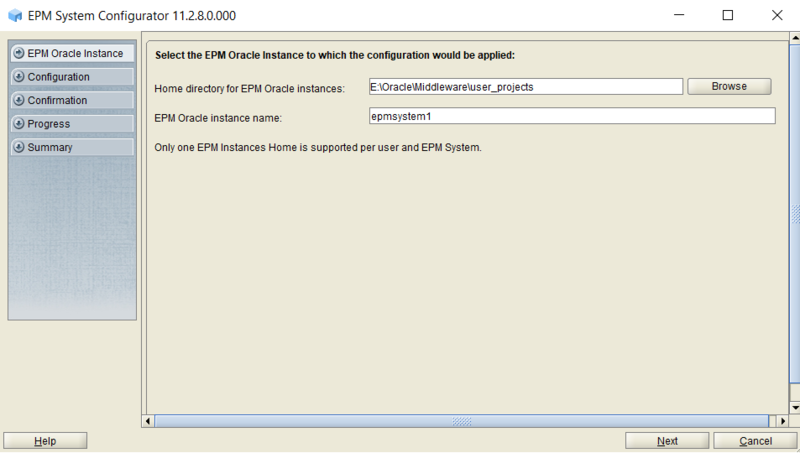
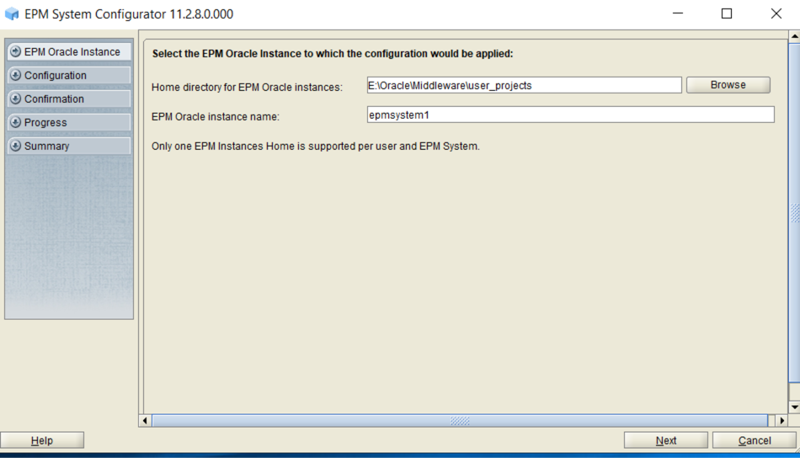
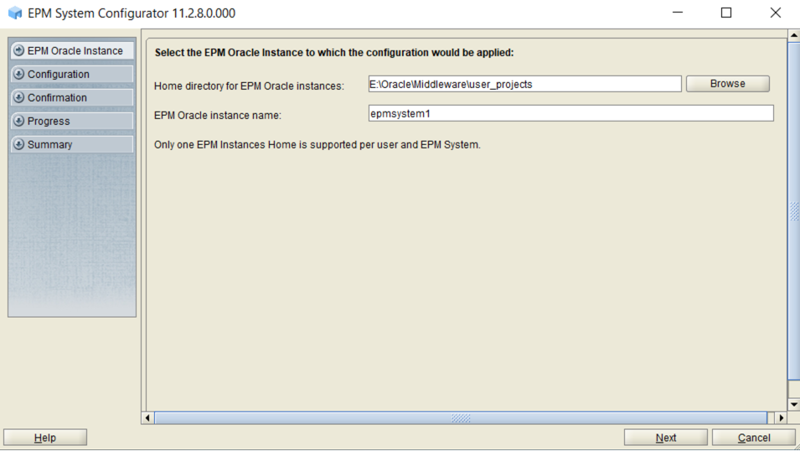
Input EPM Oracle Instance Path & Instance Name.
Verify & Click on Next.
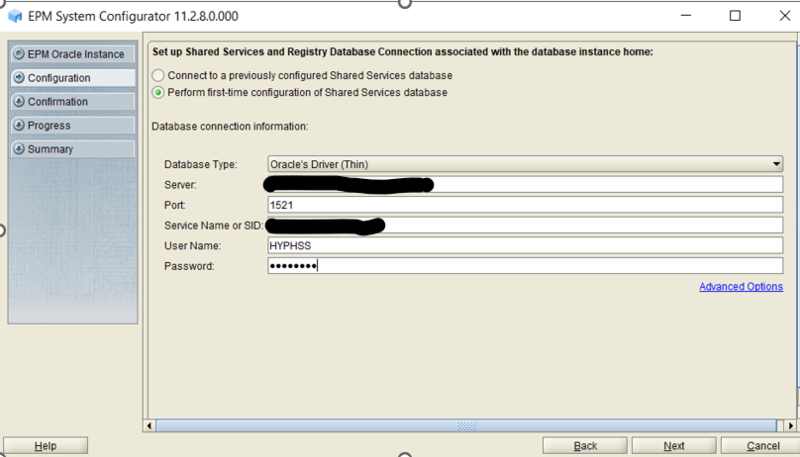
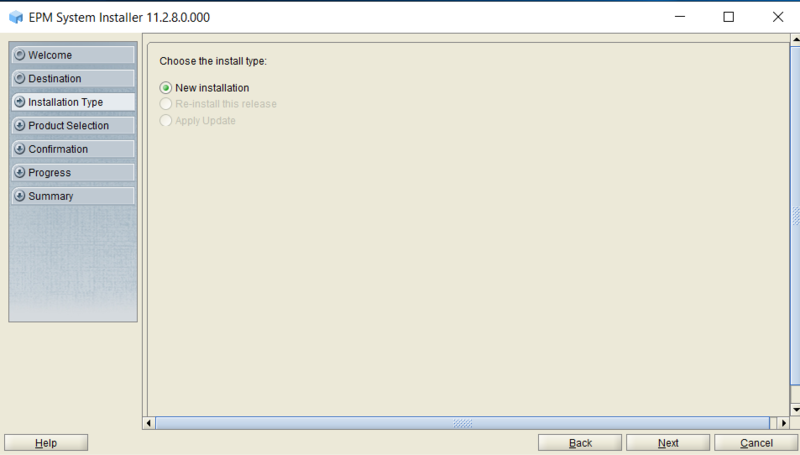
Select "Perform Firtst Time Configuration"
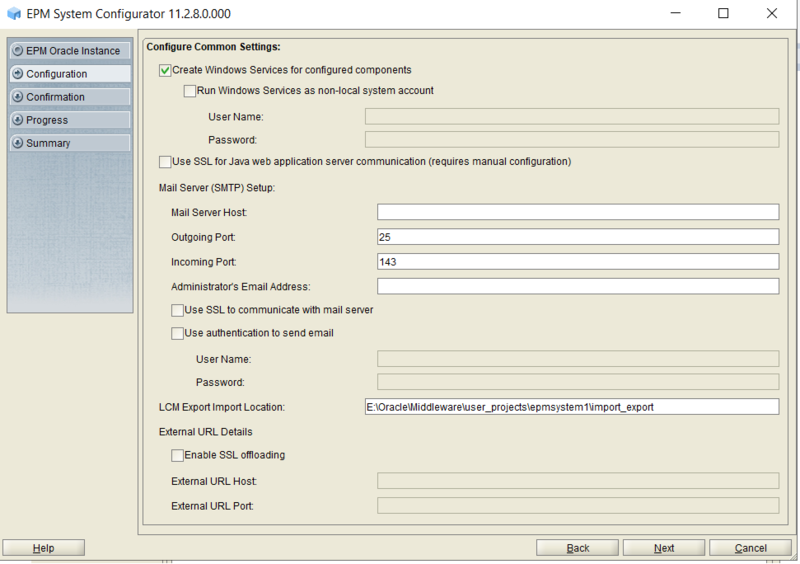
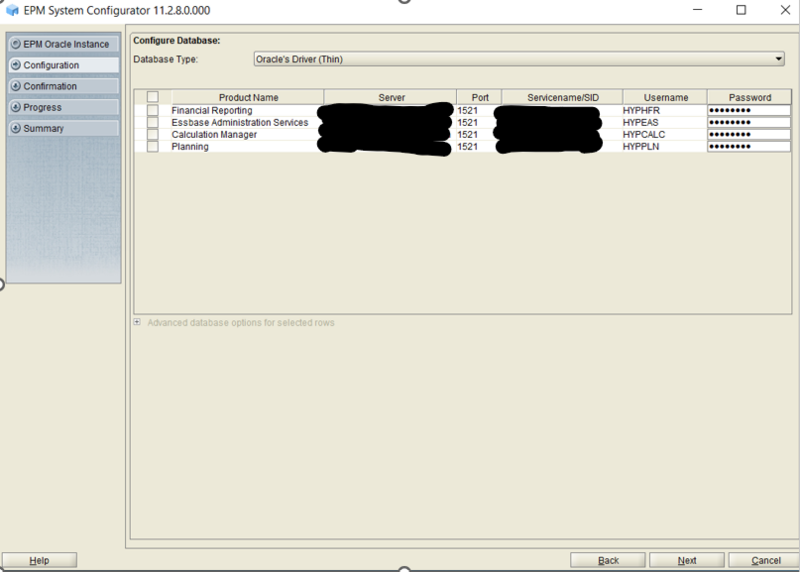
Input the required details, verify & Click Next.
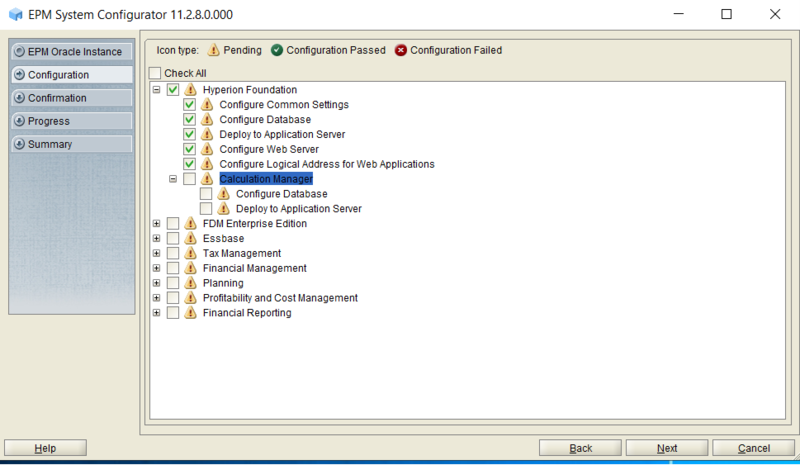
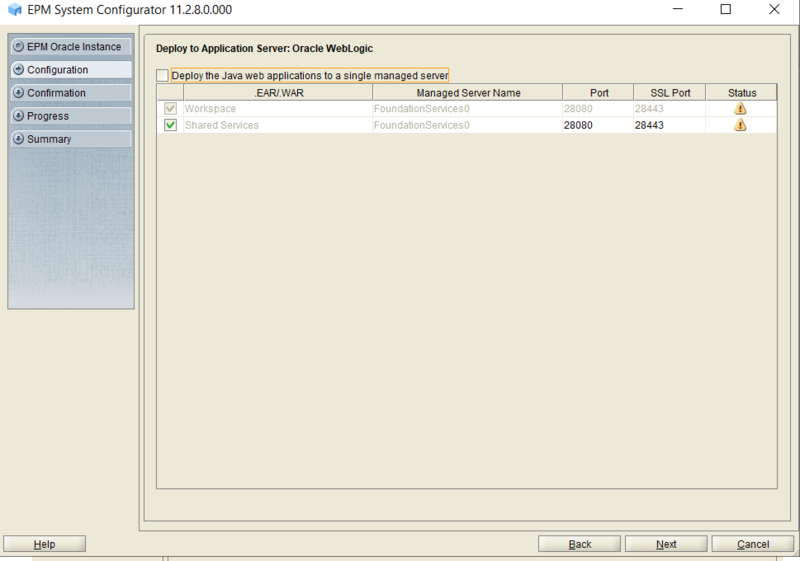
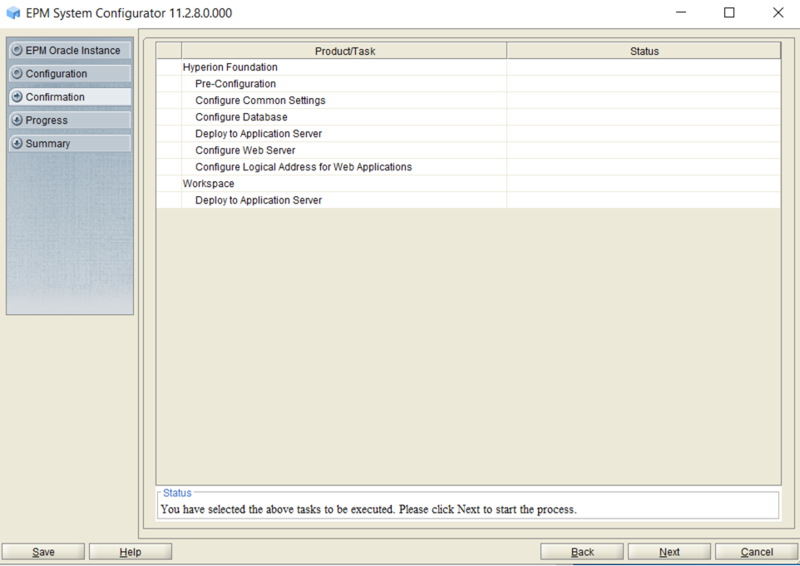
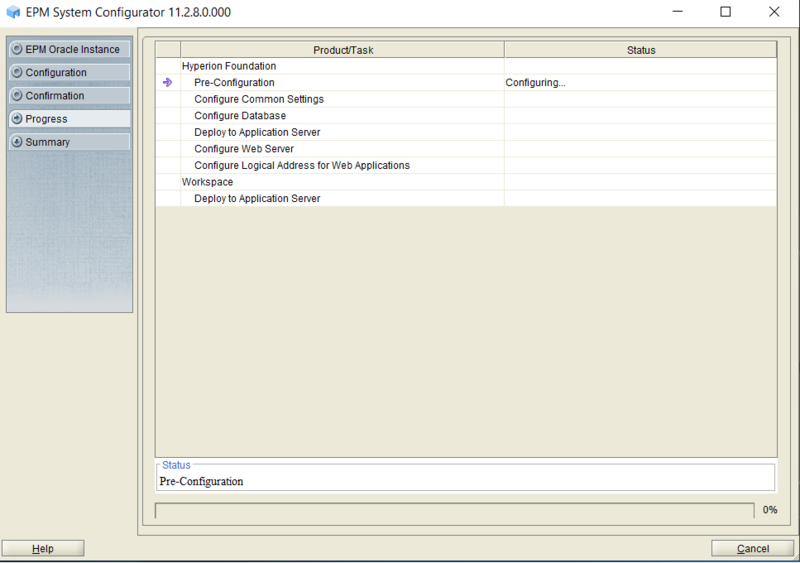
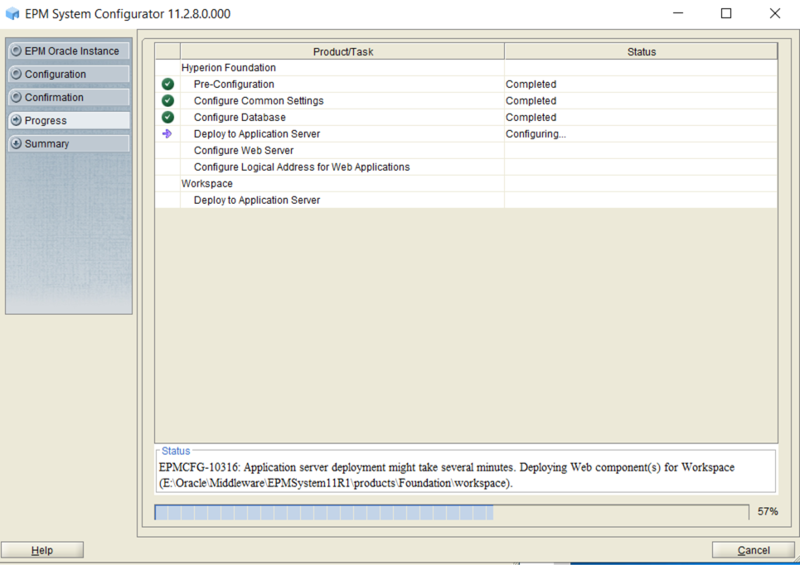
Select all Hyperion Foundation Tasks to configure & Click on NEXT.
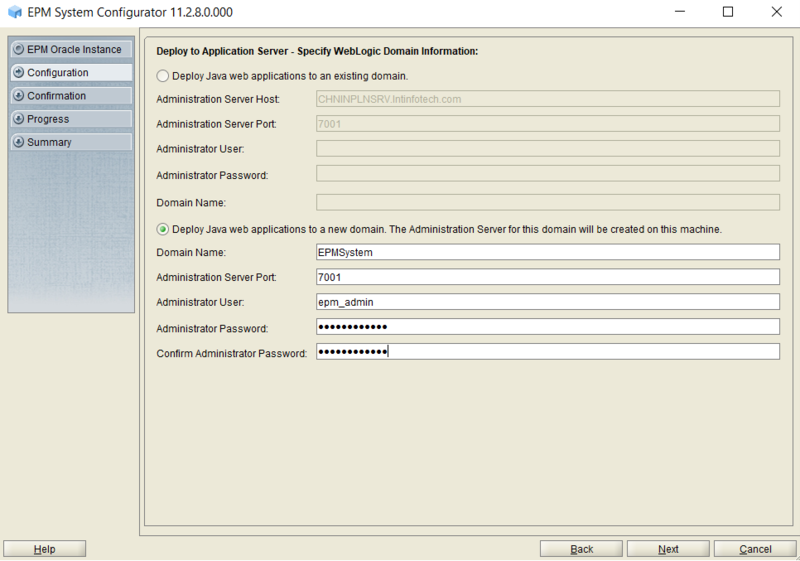
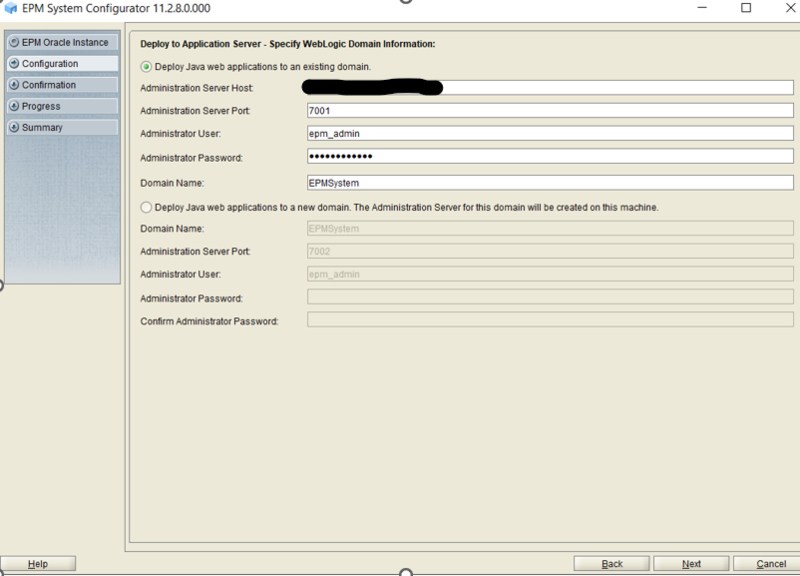
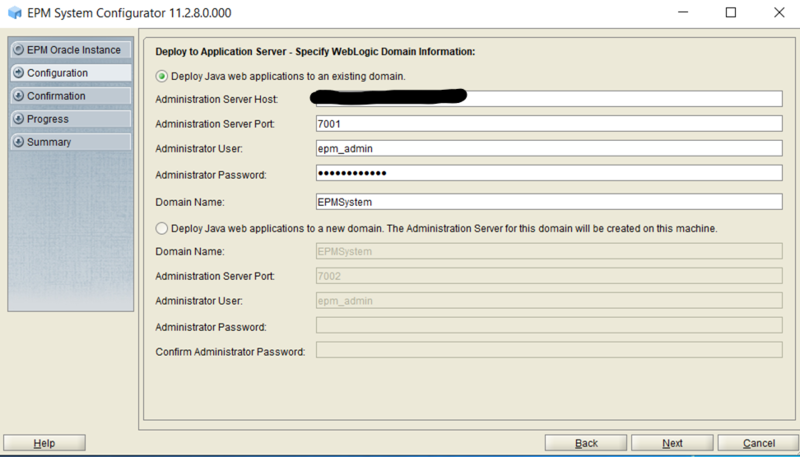
Select "deploy Java web apps to new domain"
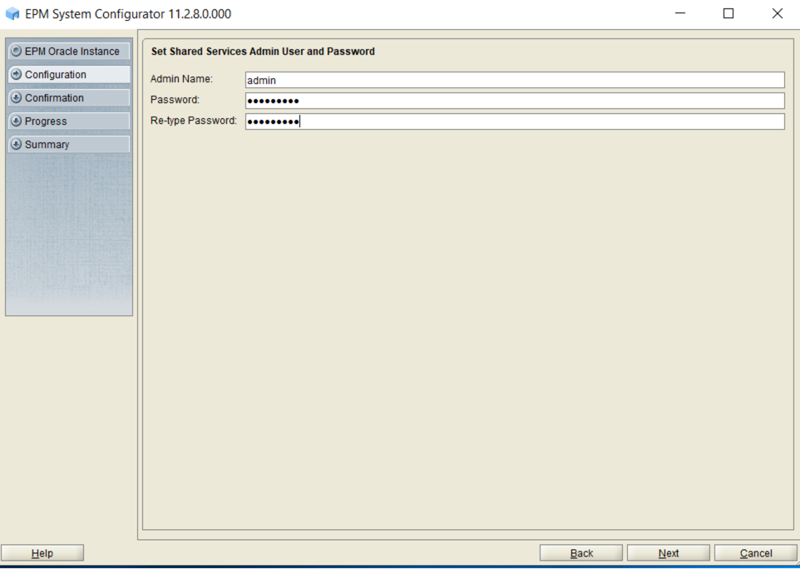
Input Hyperion Weblogic Admin User Credentials, Verify & Click on NEXT.
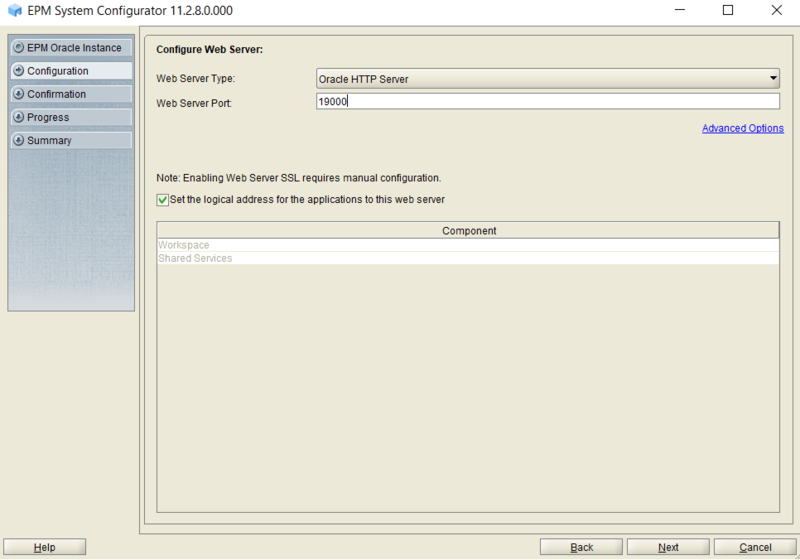
Input HTTP web server Port (Default 19000)
Input EPM workspace login credentials
Now we have successfully completed the EPM shared Services component, we will start Weblogic console and verify the weblogic console.
Goto location path EPM_Oracle_Instance\domain\domain name\bin
Right Click on "startWeblogic.cmd" and click on "Run as Administrator".


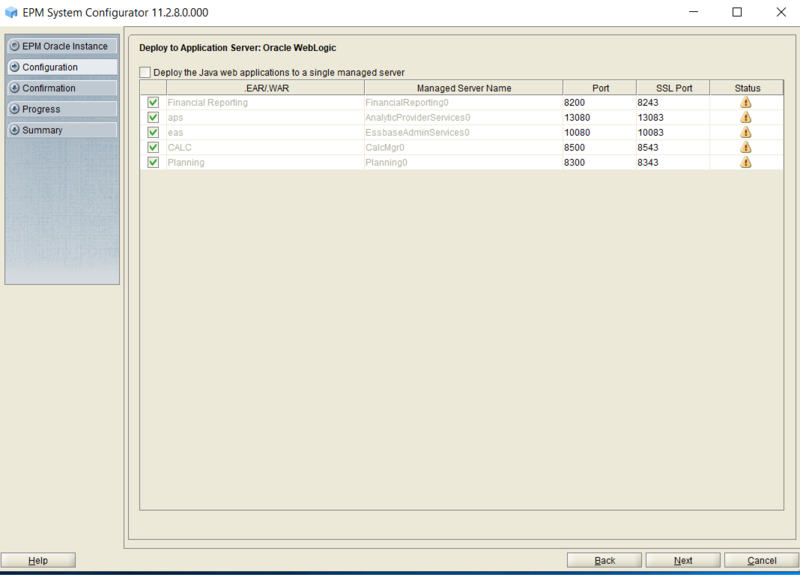
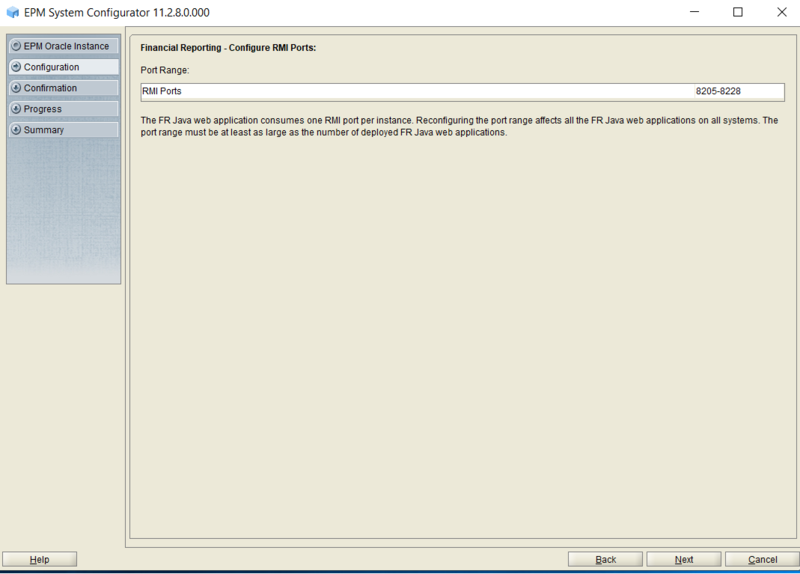
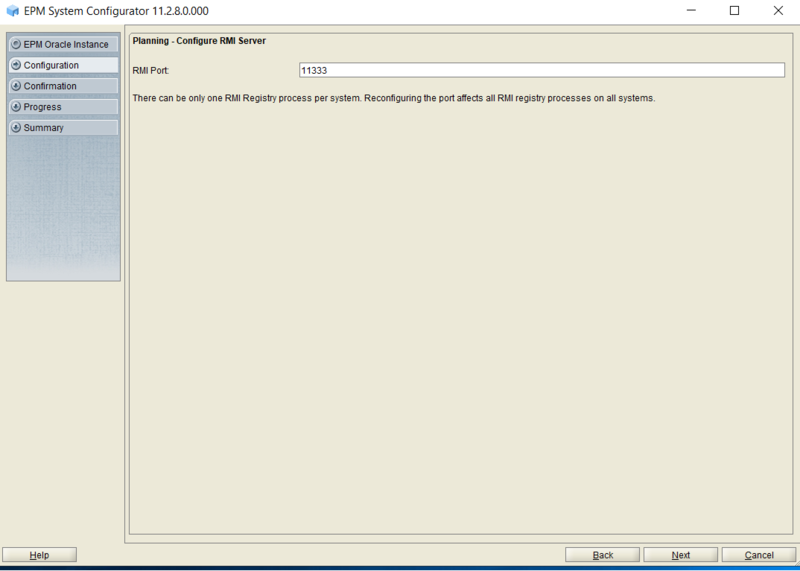
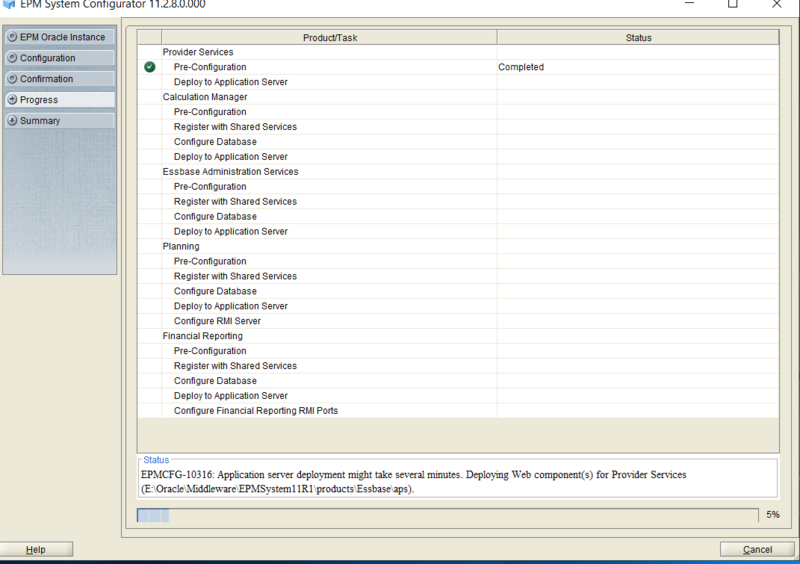
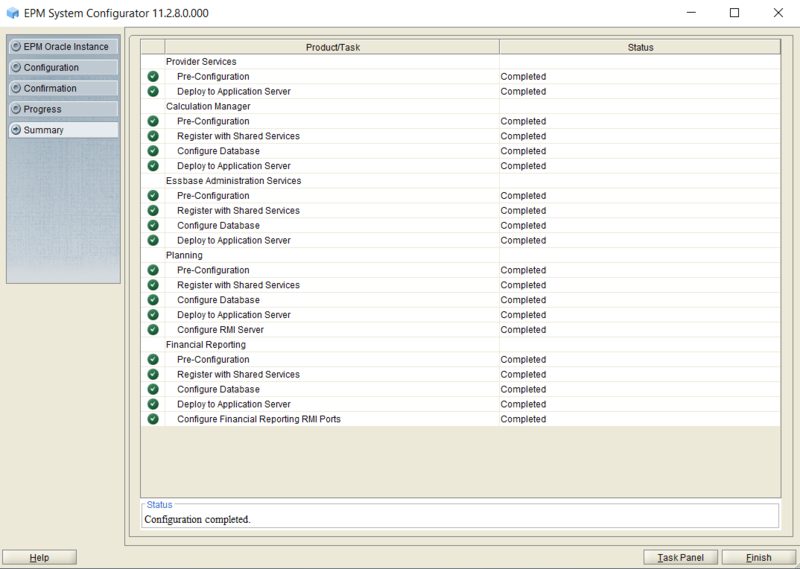
Now Run the Configurator again for configuring the other components (CALC/EAS/APS/PLN/HFR)
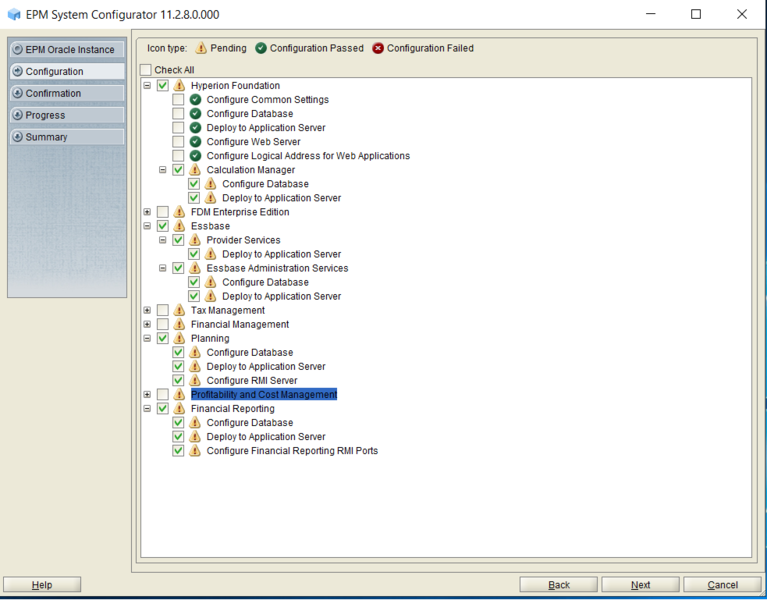
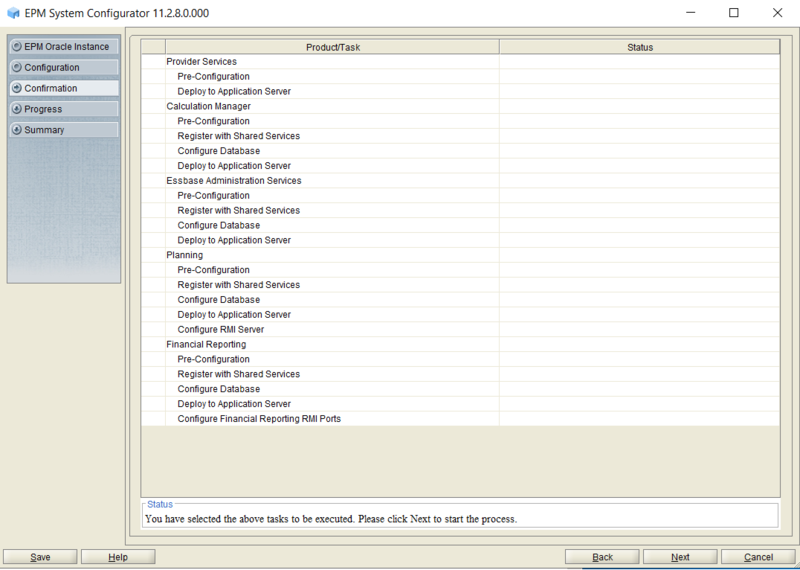
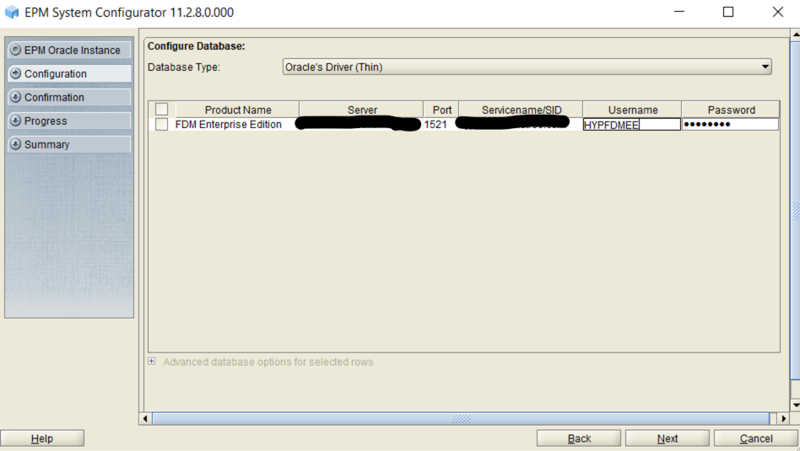
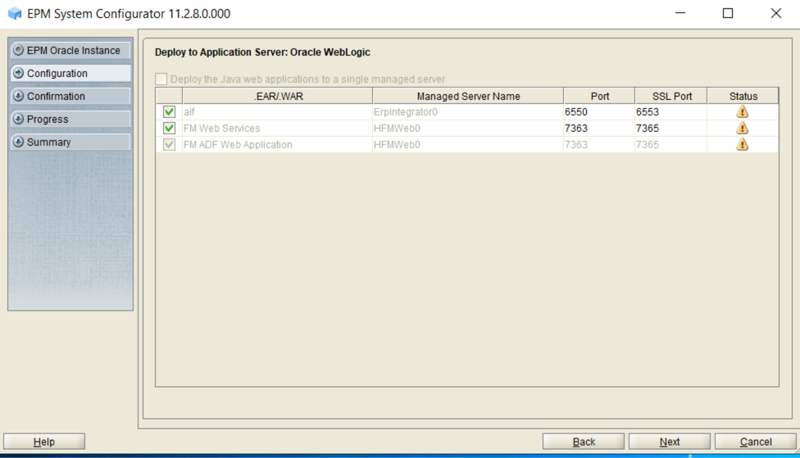
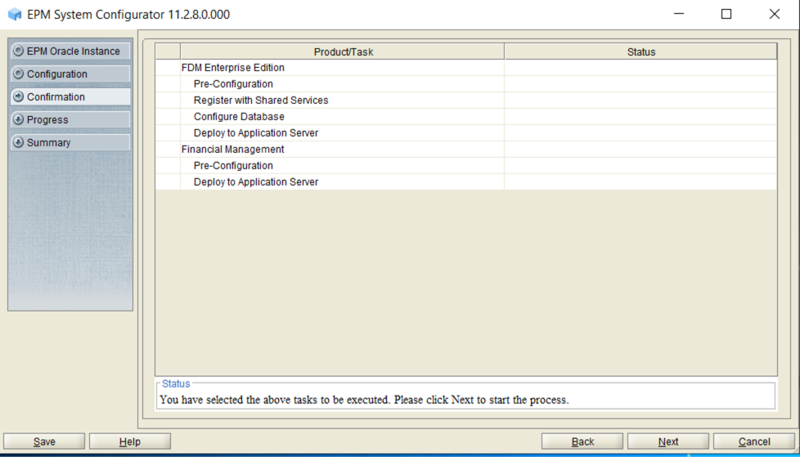
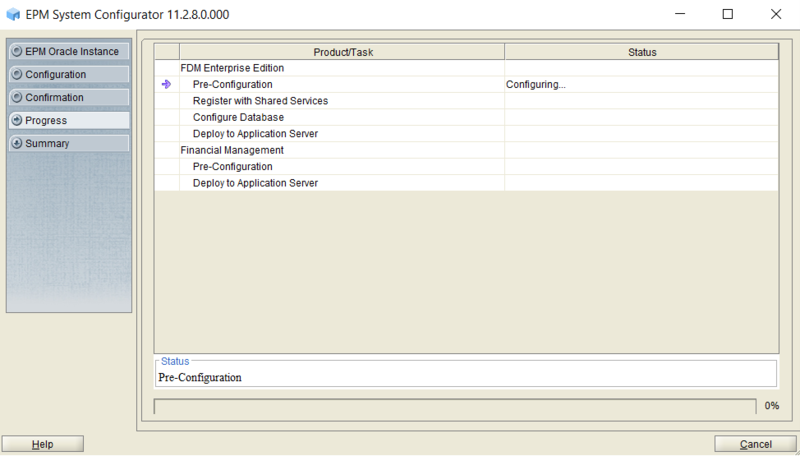
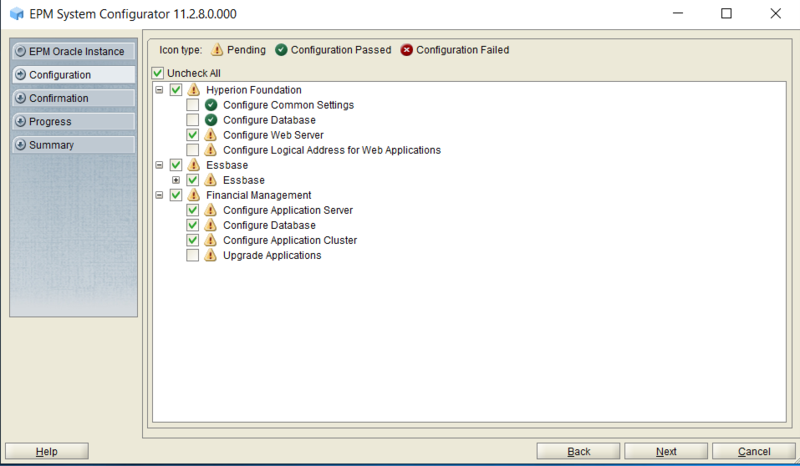
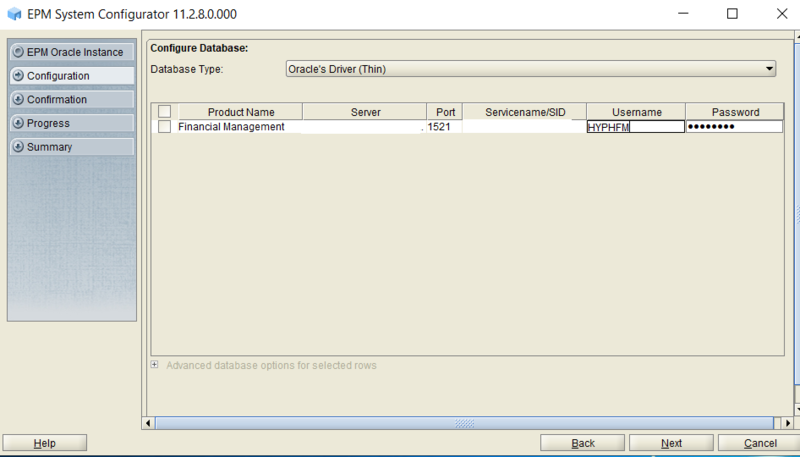
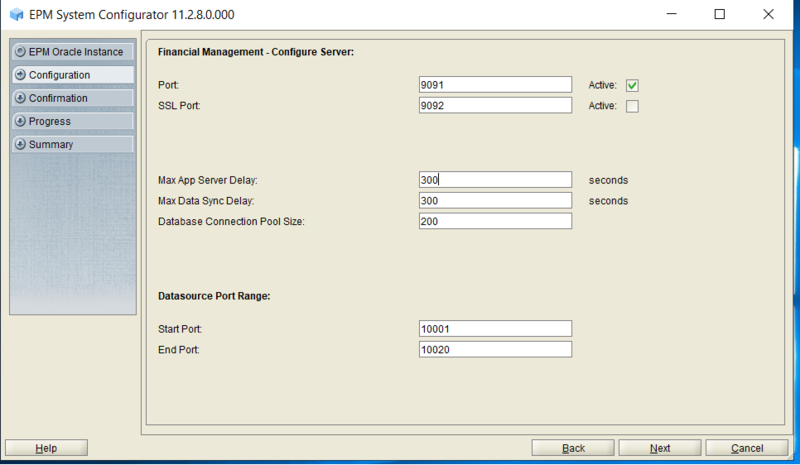
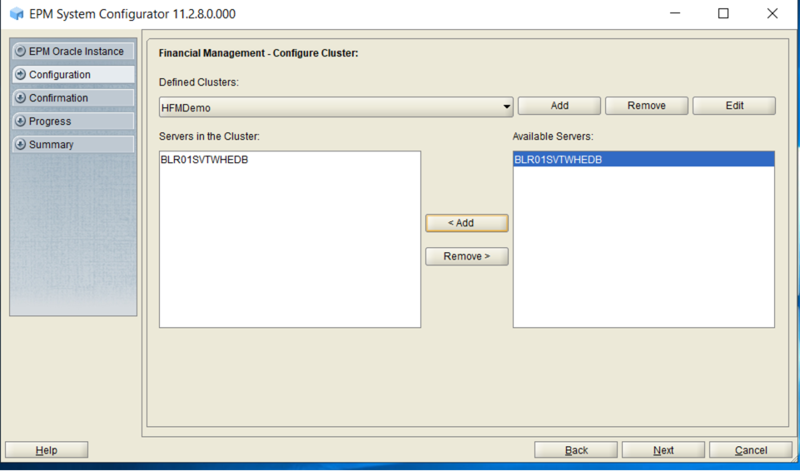
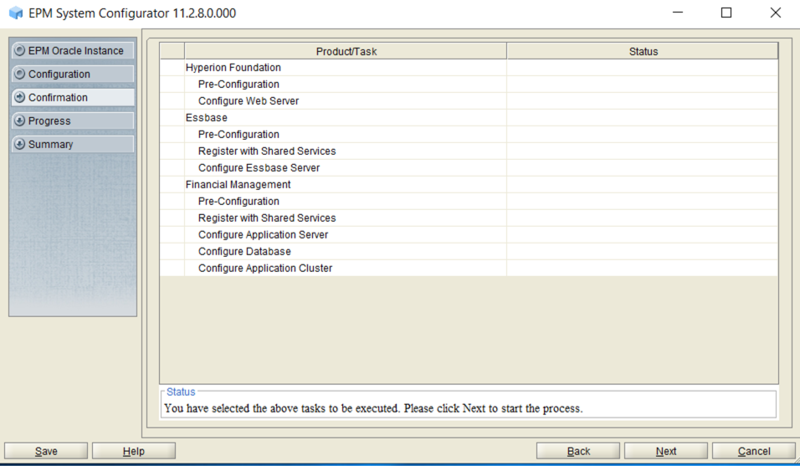
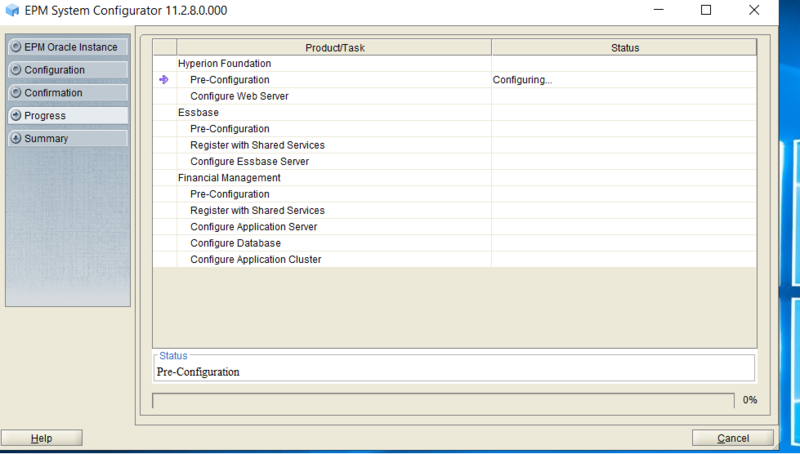
Configuring HFM & FDMEE components
Launch the EPMSystem Config Tool by Right Clicking & Selecting "Run as Administrator"


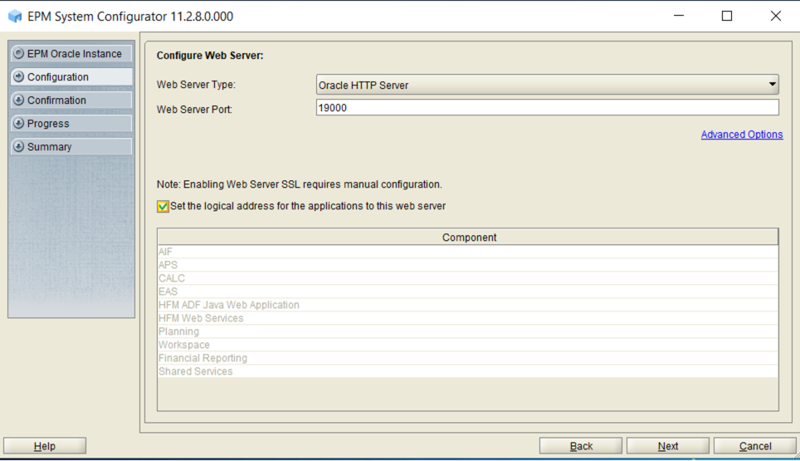
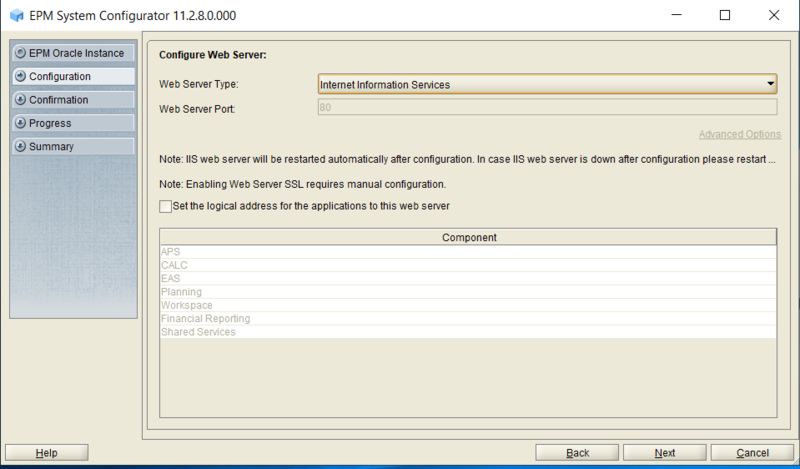
Final WebServer Configuration on "Hyperion-WEB" Server.
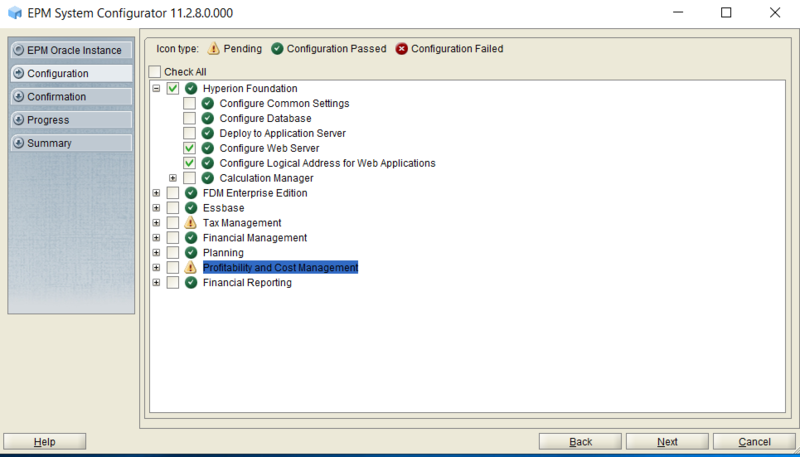
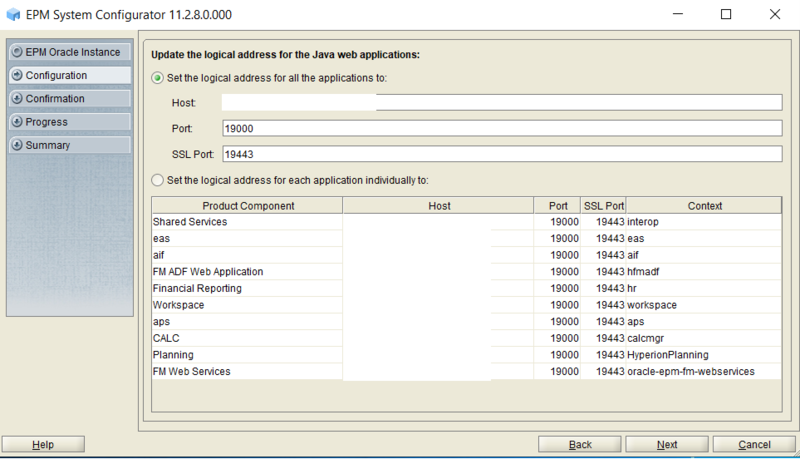
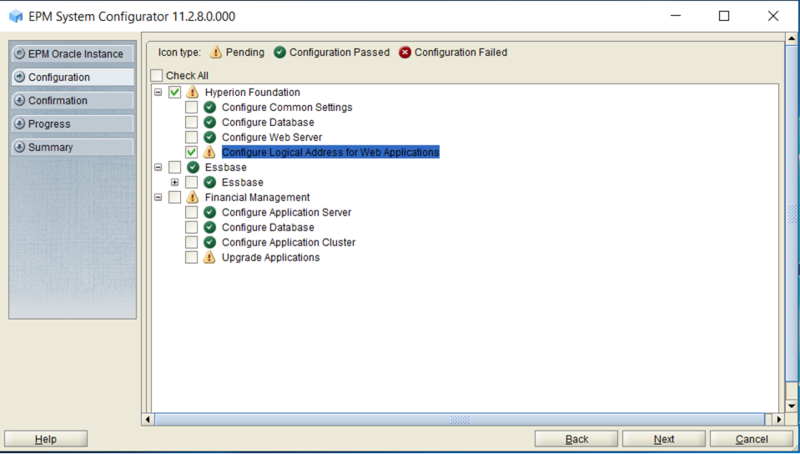
Now Run the Configurator again for configuring the WebServer & LWA for all web apps configured till now.
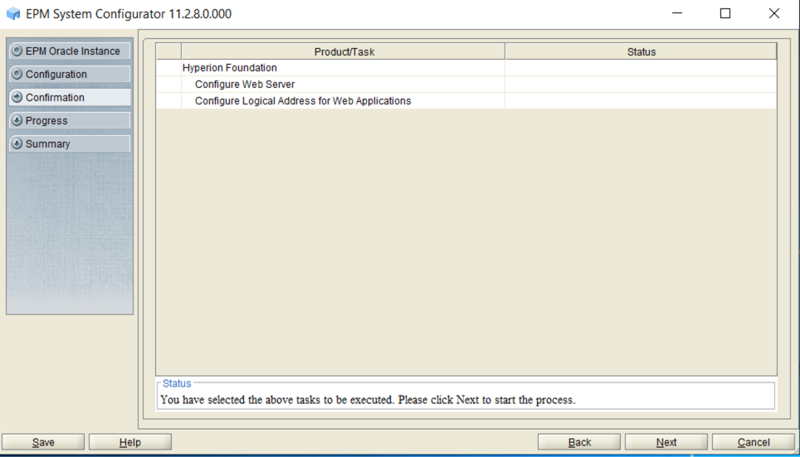
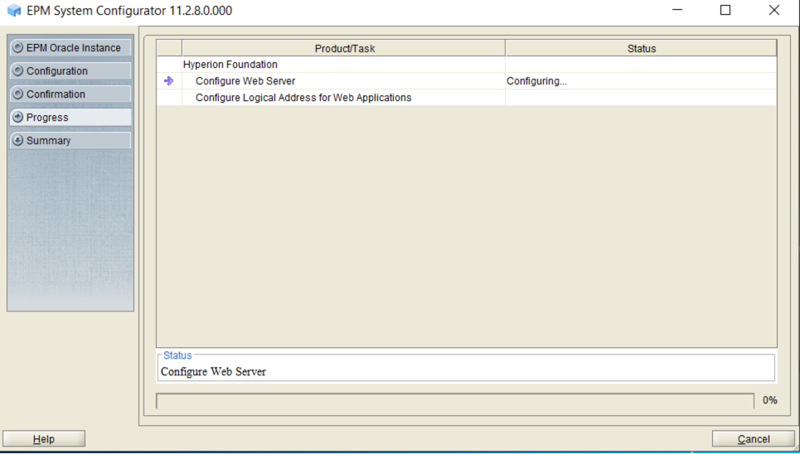
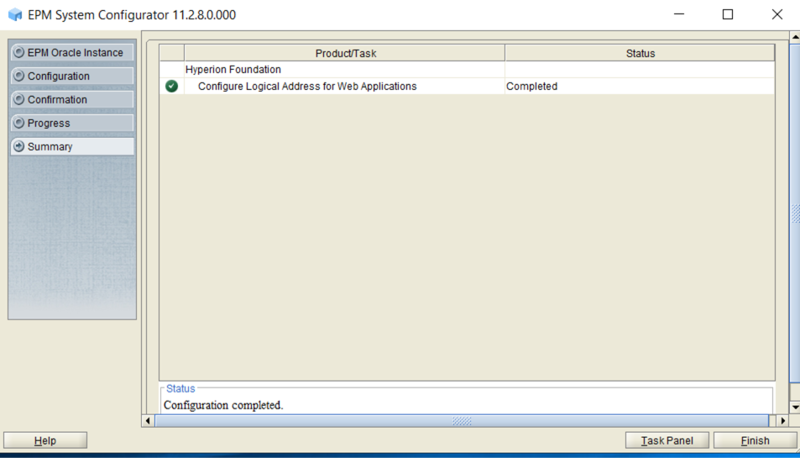
Select "Configure Web Server" & "Configure Logical address for Web Applications"
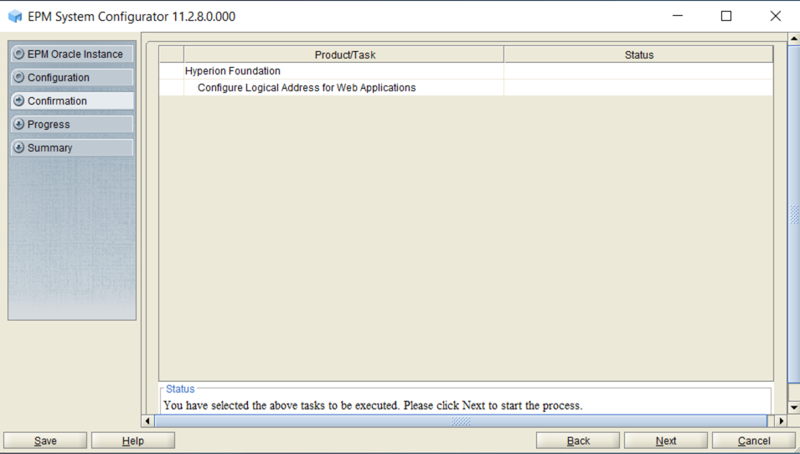
Verify & Click on NEXT.
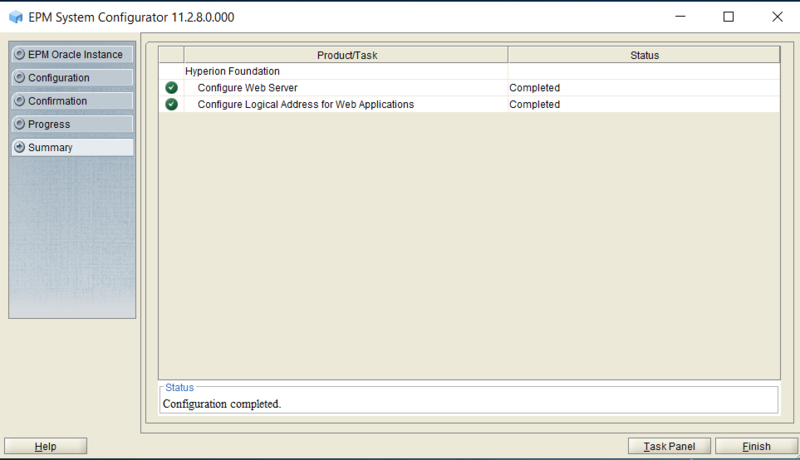
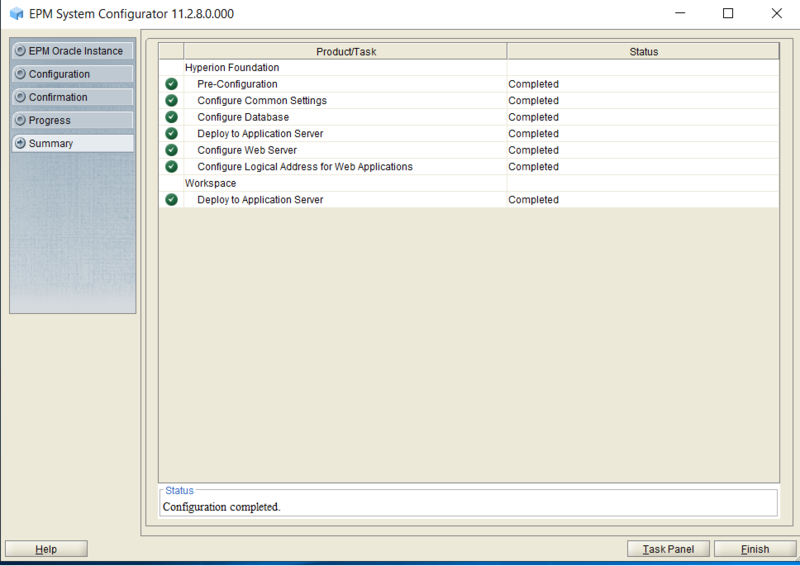
Kudos...Web Server Configuration completed...
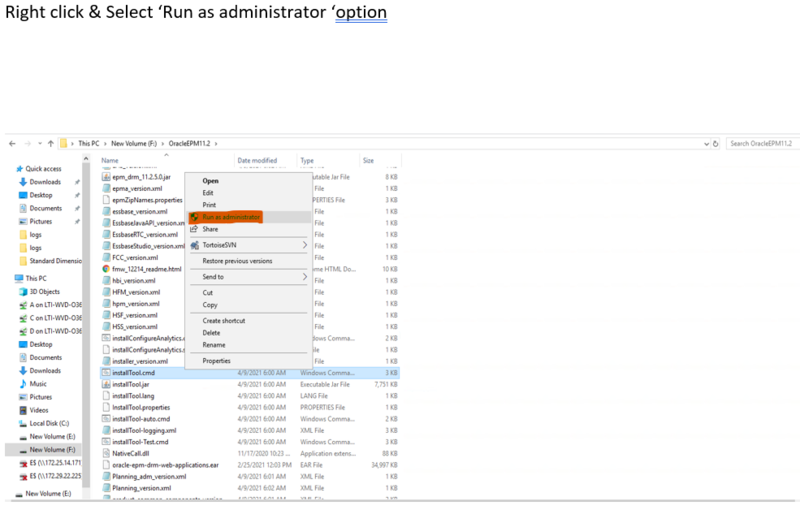
EPM App Server Installation in "Hyperion-APP" Server: Screen shots
Oracle hyperion Essbase Server & HFM server Installation & Configuration:
Log into the server and goto the Install files location.
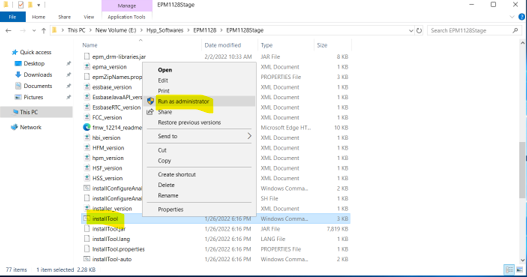
Select "Installtool.cmd", Right Click and Click on "Run as Administrator".


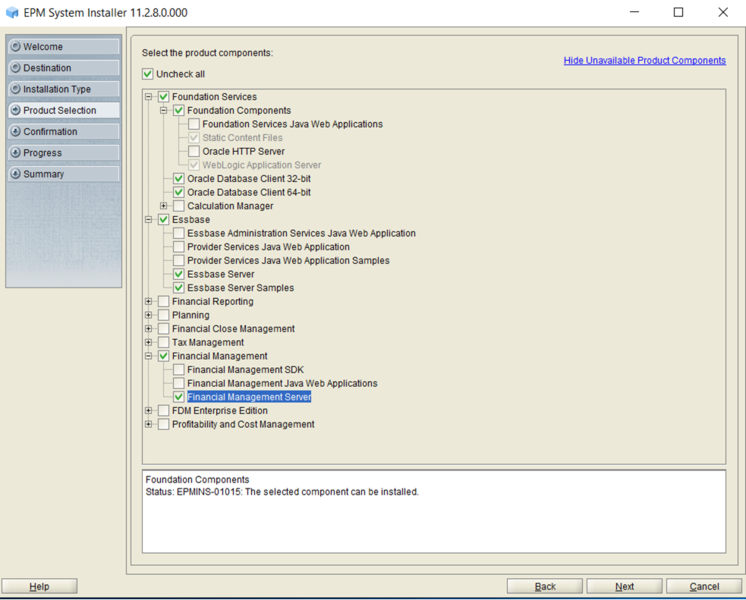
First Uncheck "Uncheck all"
Now Check 'Essbase Server', 'Essbase Server Samples', & 'Financial Management Server'
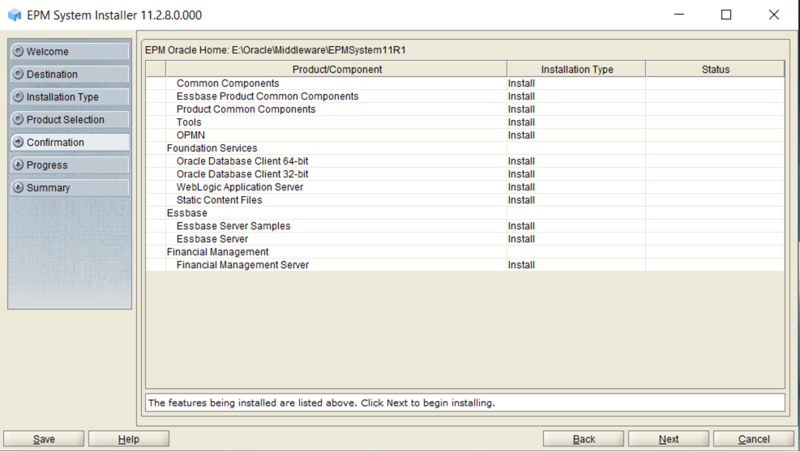
Verify & Click on NEXT.
RUN RCU for Repository creation
Refer Above RCU Creation screenshots for 'Hyperion-WEB' server and follow the same steps.
use different Prefix for Each EPM server.
After Completion of RCU Creation, goto below screenshot location and edit the RCUSchema.Properties file detils.

Configuration of EPM App Server Components (Essbase server & HFM Server)
Gogto the EPM install file location and right click on "installtool.cmd" and click on 'RUN as Administrator'.

Input EPM_Oracle_Instance path & Instance name.
Very & click on NEXT.
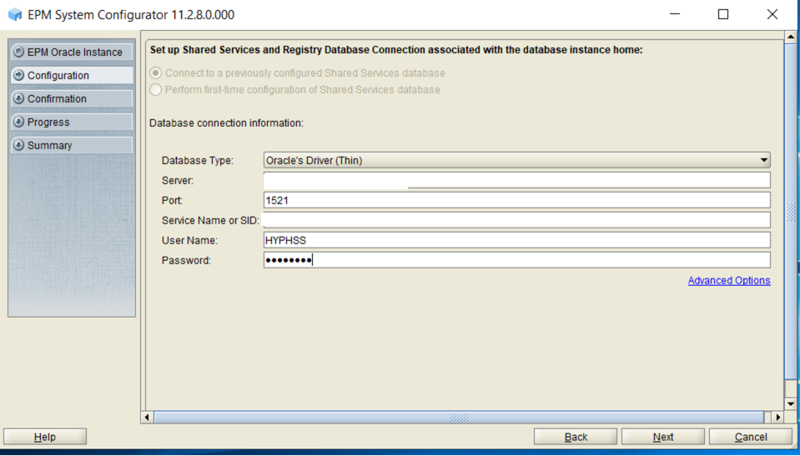
Select first option "Connect to previously configured Shared services database". Select only this option for rest of all EPM servers involved in distribution environment.
Input required details.
Verify & click on NEXT.

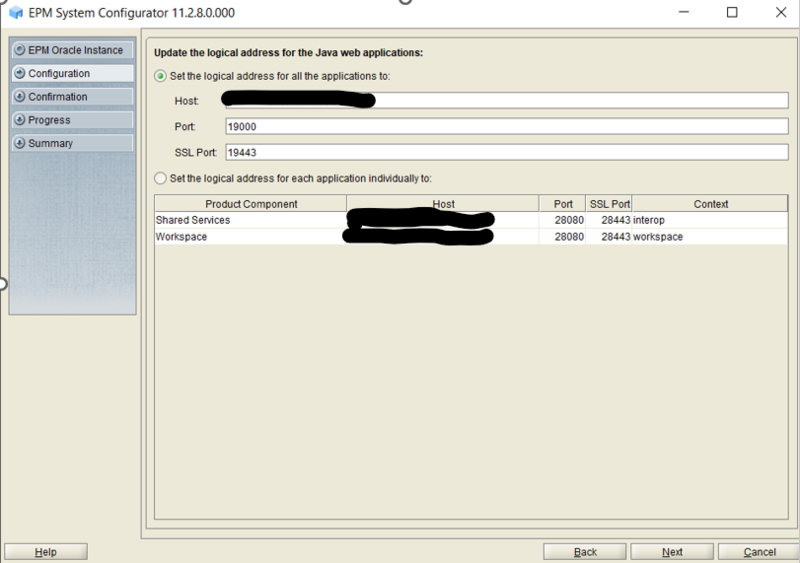
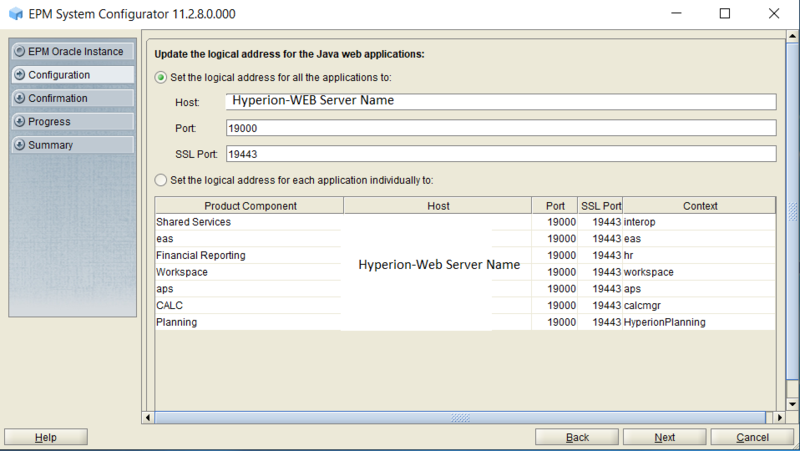
Now Click on "Task Panel" in above screen shot and select "Configure Logical address for Web Applications"
Make sure you see your Hyperion-WEB server host name in the Host name field.
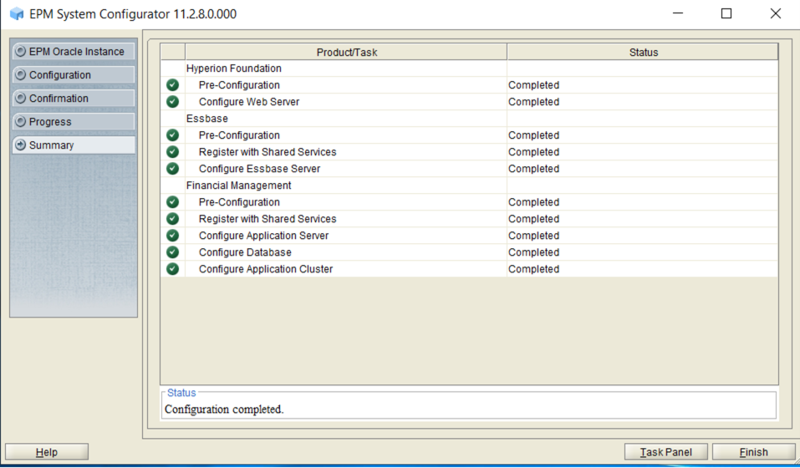
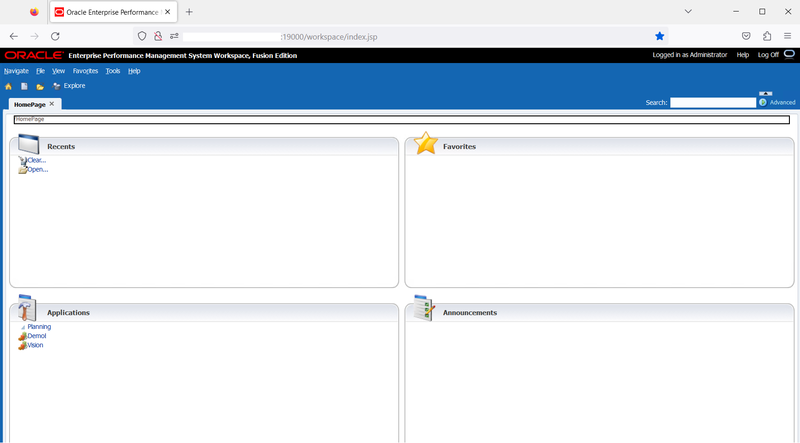
KUDOS...EPM 11.2.8 Installation & Configuration is Successfully Completed.
Below is workspace screenshot...
Few things I have noticed in this EPM11.2.8 Version Services Startup sequence...
1. Always First start the Weblogic Console.
2. After Weblogic console is up and running, Now Start all Web Apps.
3. Start Essbase Server & HFM App servers
4. Start OHS manually 'StartComponent.cmd ohs_component'
Enjoy EPM learning!!!....

